#shegotstyle: My Reebok Classic's #StepForward Custom Marble Sneakers
As a sneaker fan since childhood, I've always dreamed of having my own shoe. I've customized pairs, designed on Nike iD and even went to sneaker design school to learn about sketching silhouettes from scratch and material and textile design. Putting a creative spin on sneakers and other fashion pieces is a great way to flex your artistic muscles but it's often hard to find some time to take a break and paint.
Recently, Reebok sent me a very cool kit to customize a pair of the Reebok Classic white leather sneakers. It's part of their #stepforward project which asks artists and influencers to define what their version of Classic is to them. The kit came in a giant branded paint can which included a blank canvas, paints (white, black and shades of grey), brushes, a tray, a black Krink marker, extra shoelaces and a paint mask.
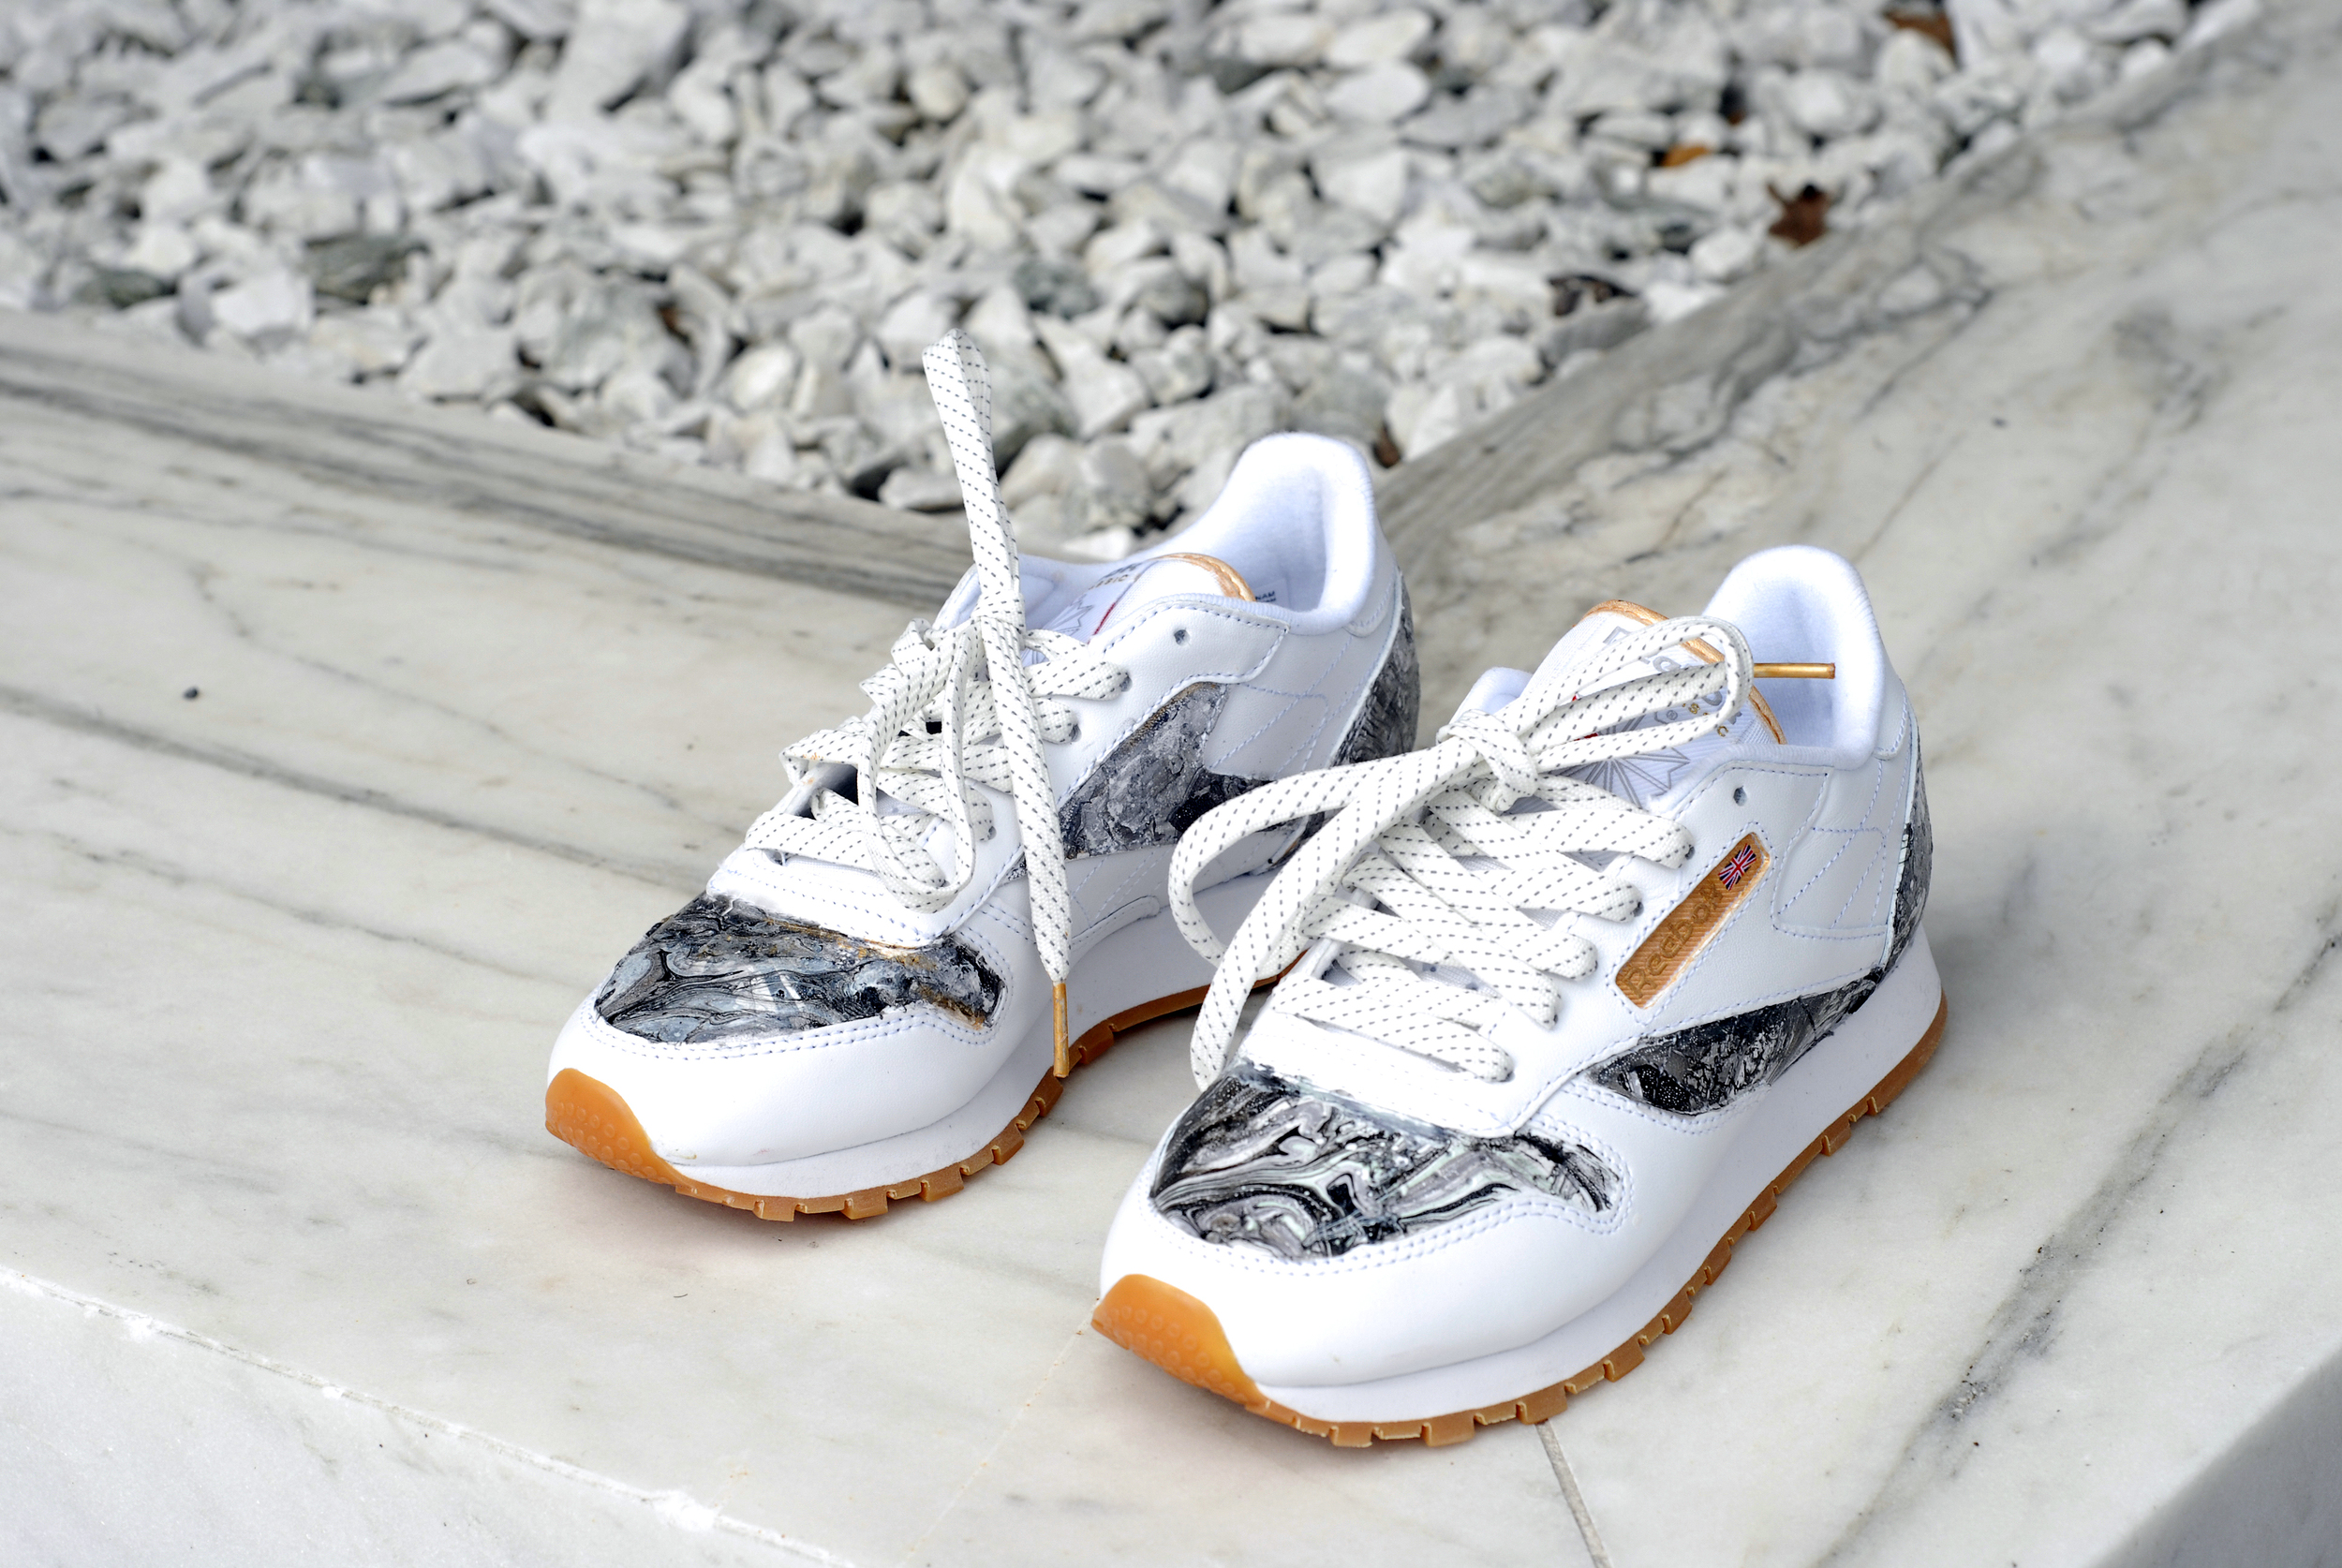
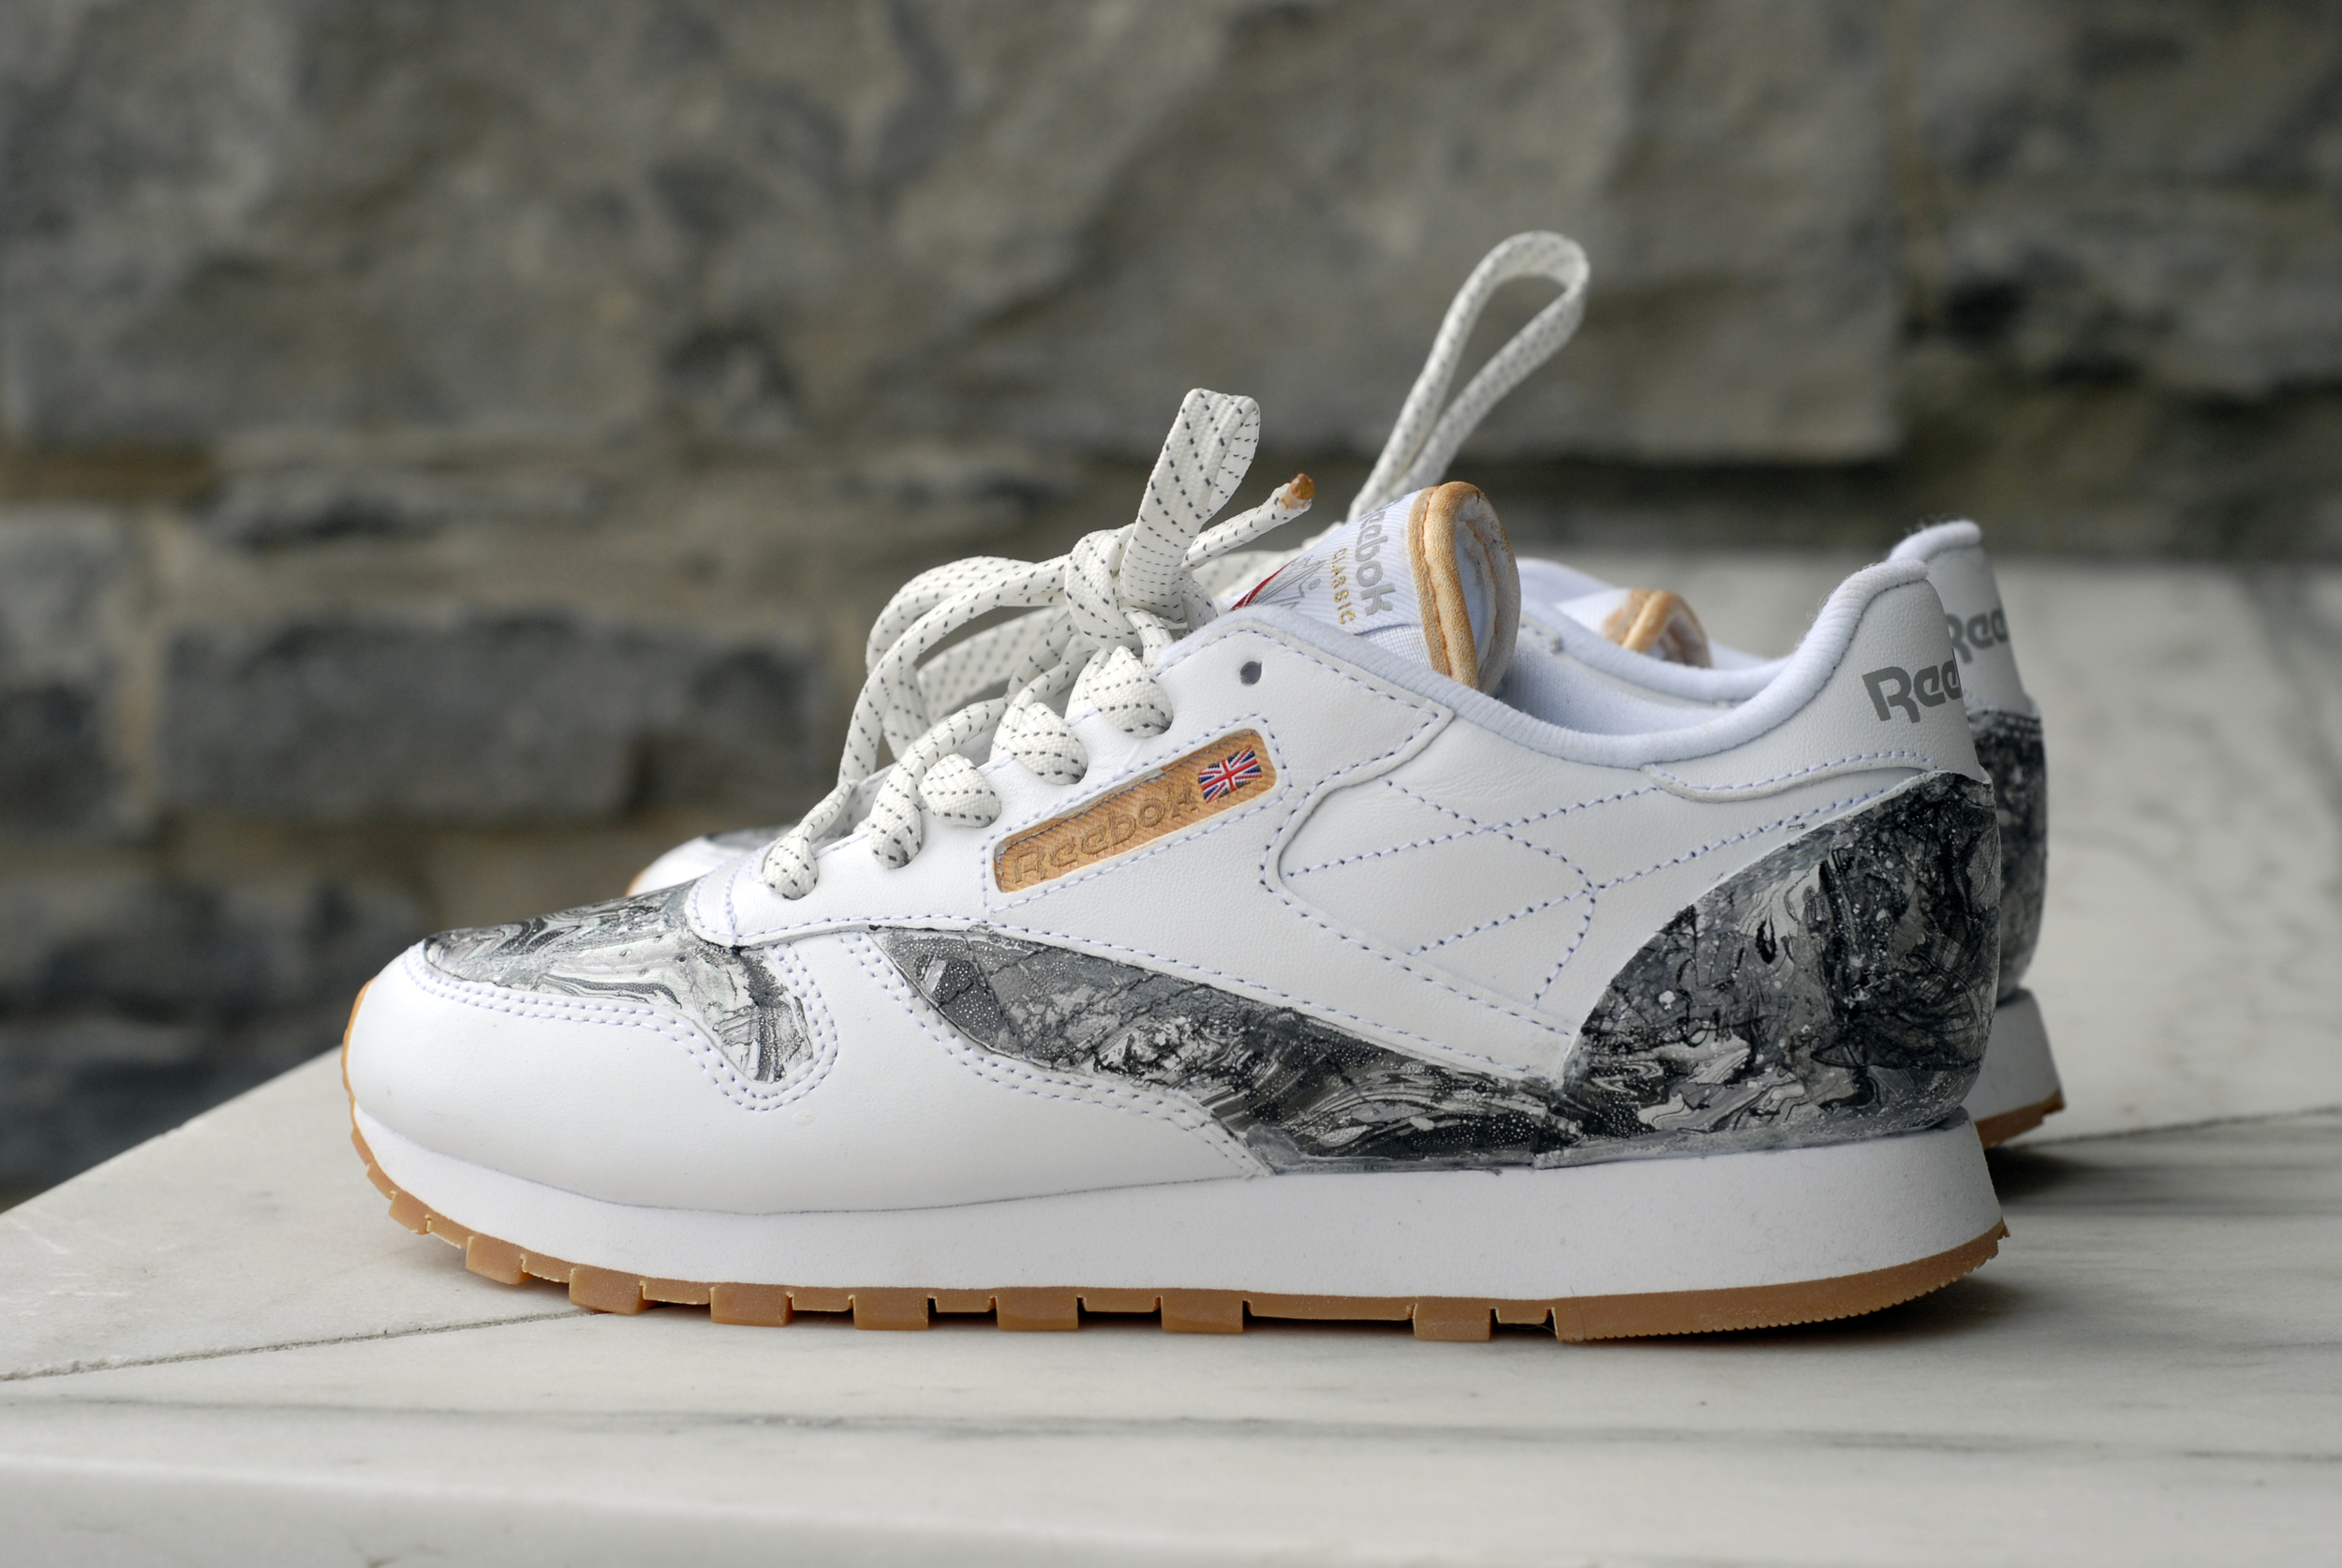
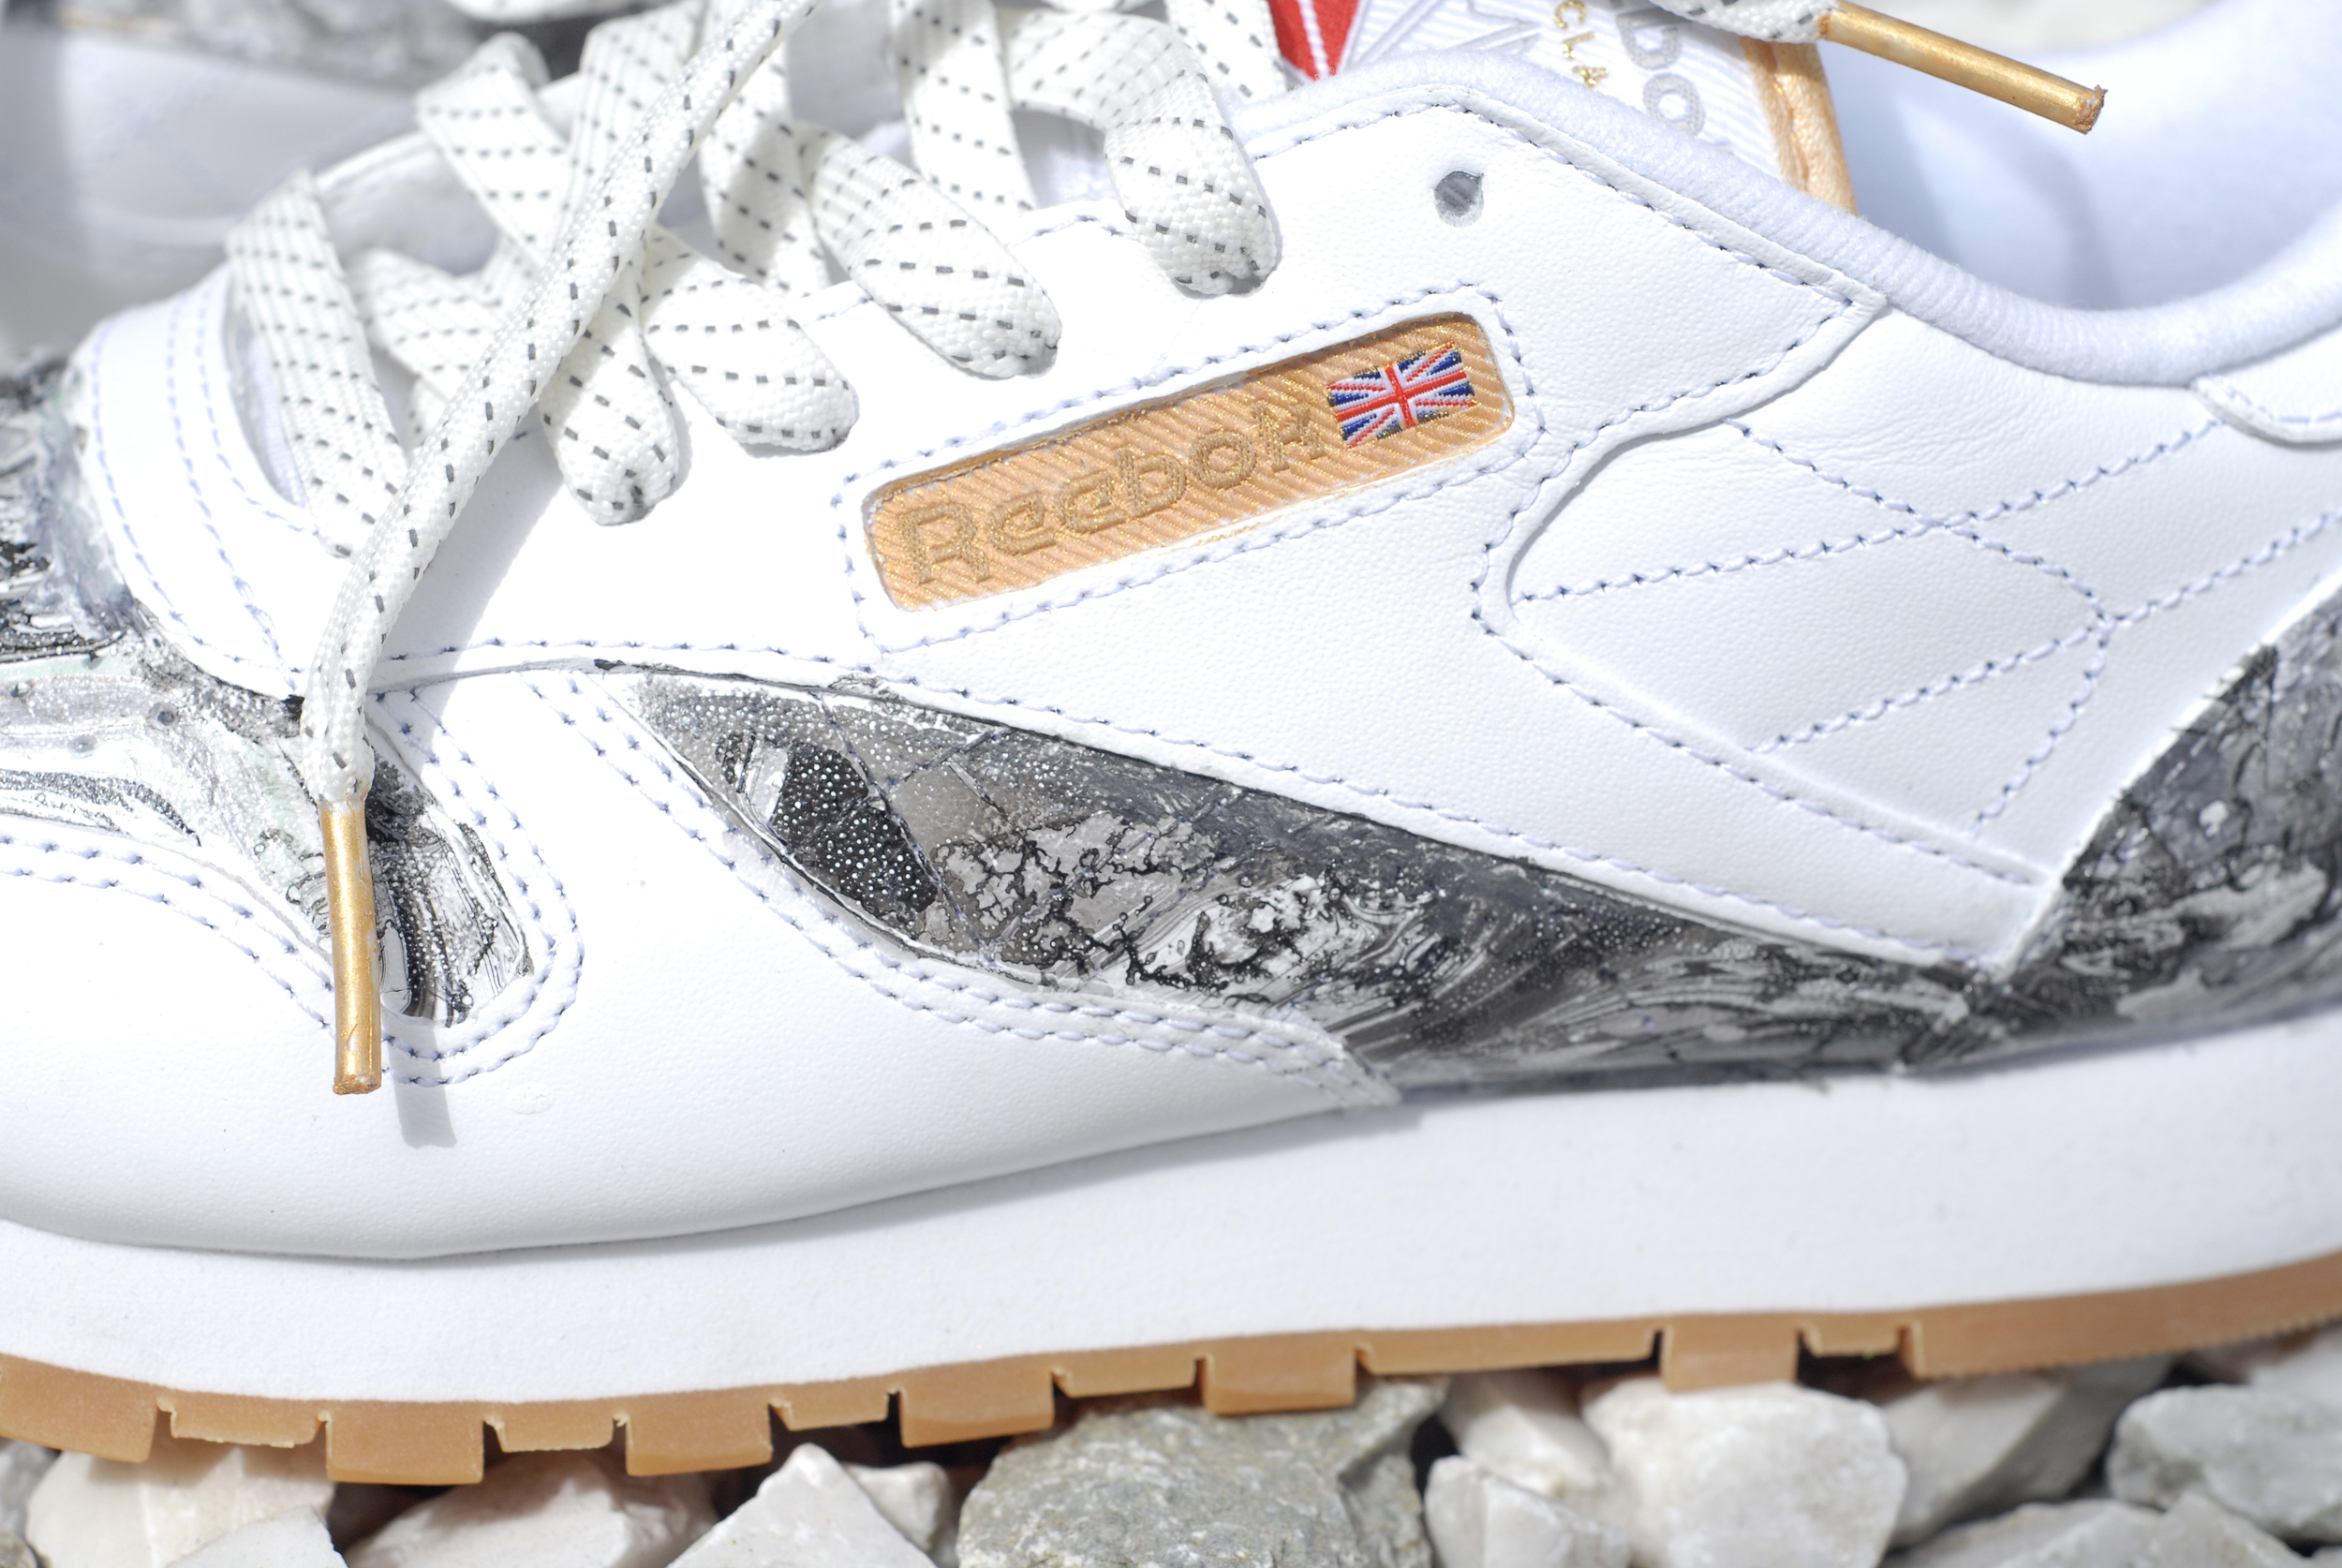
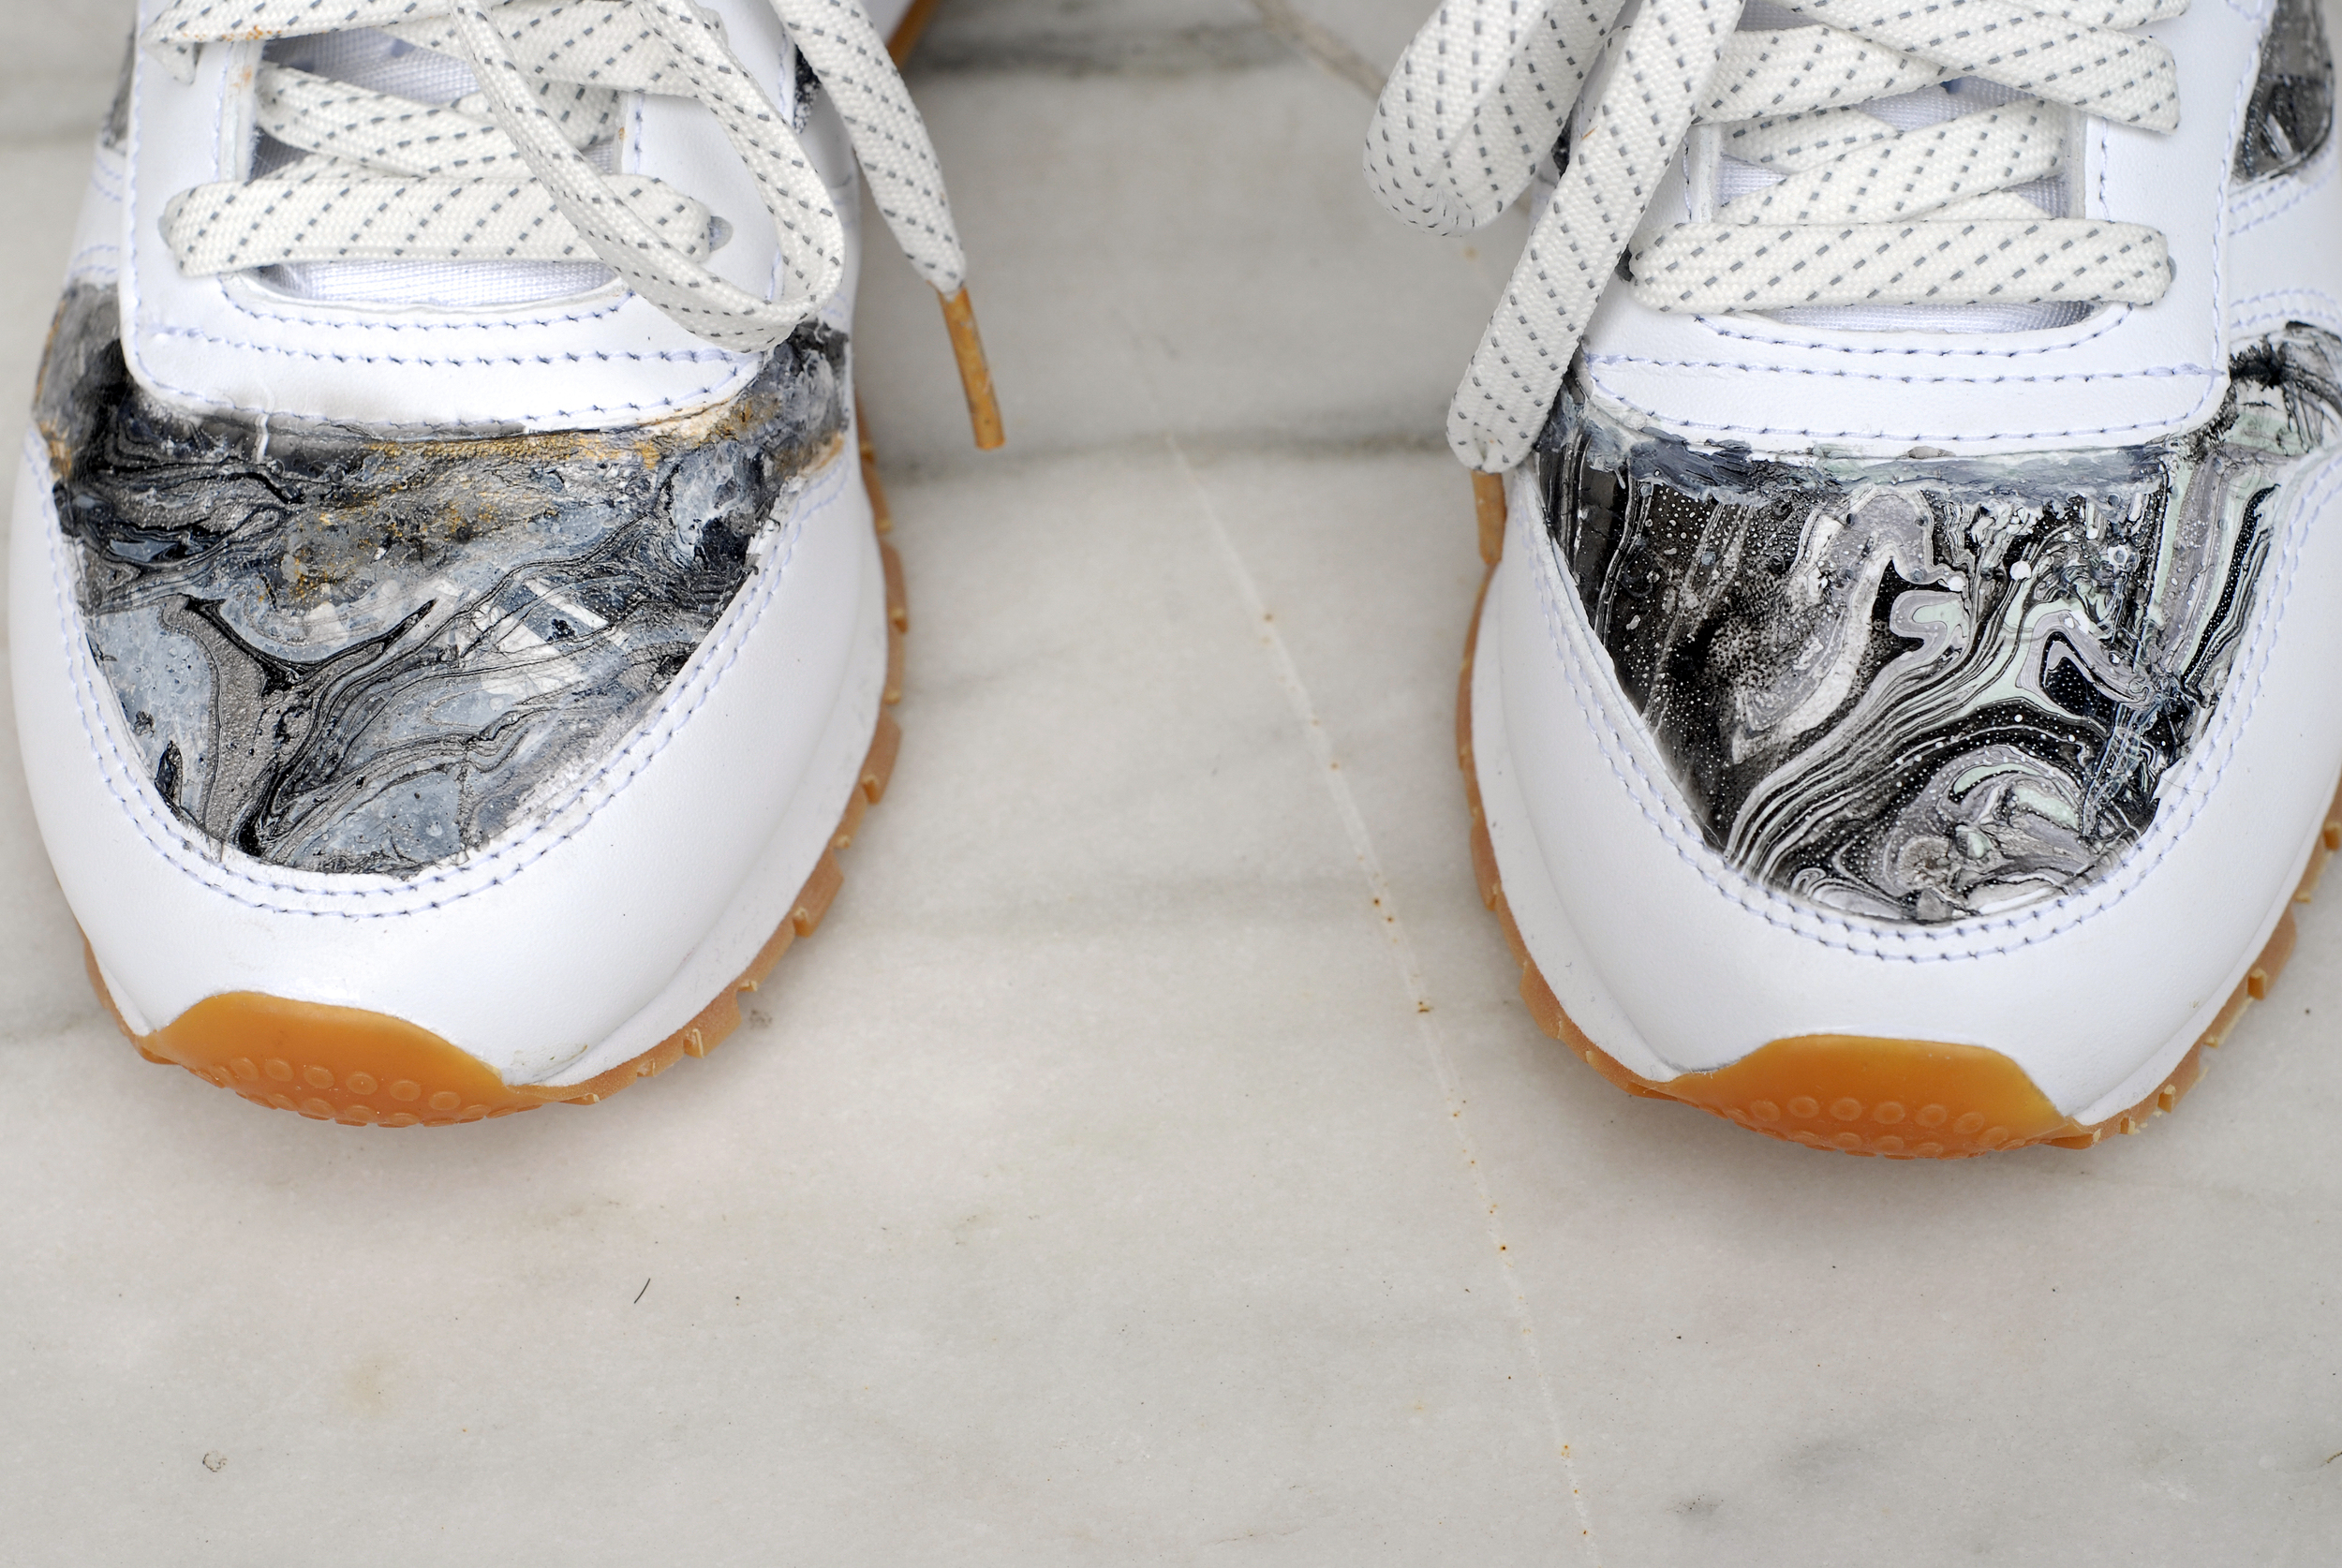
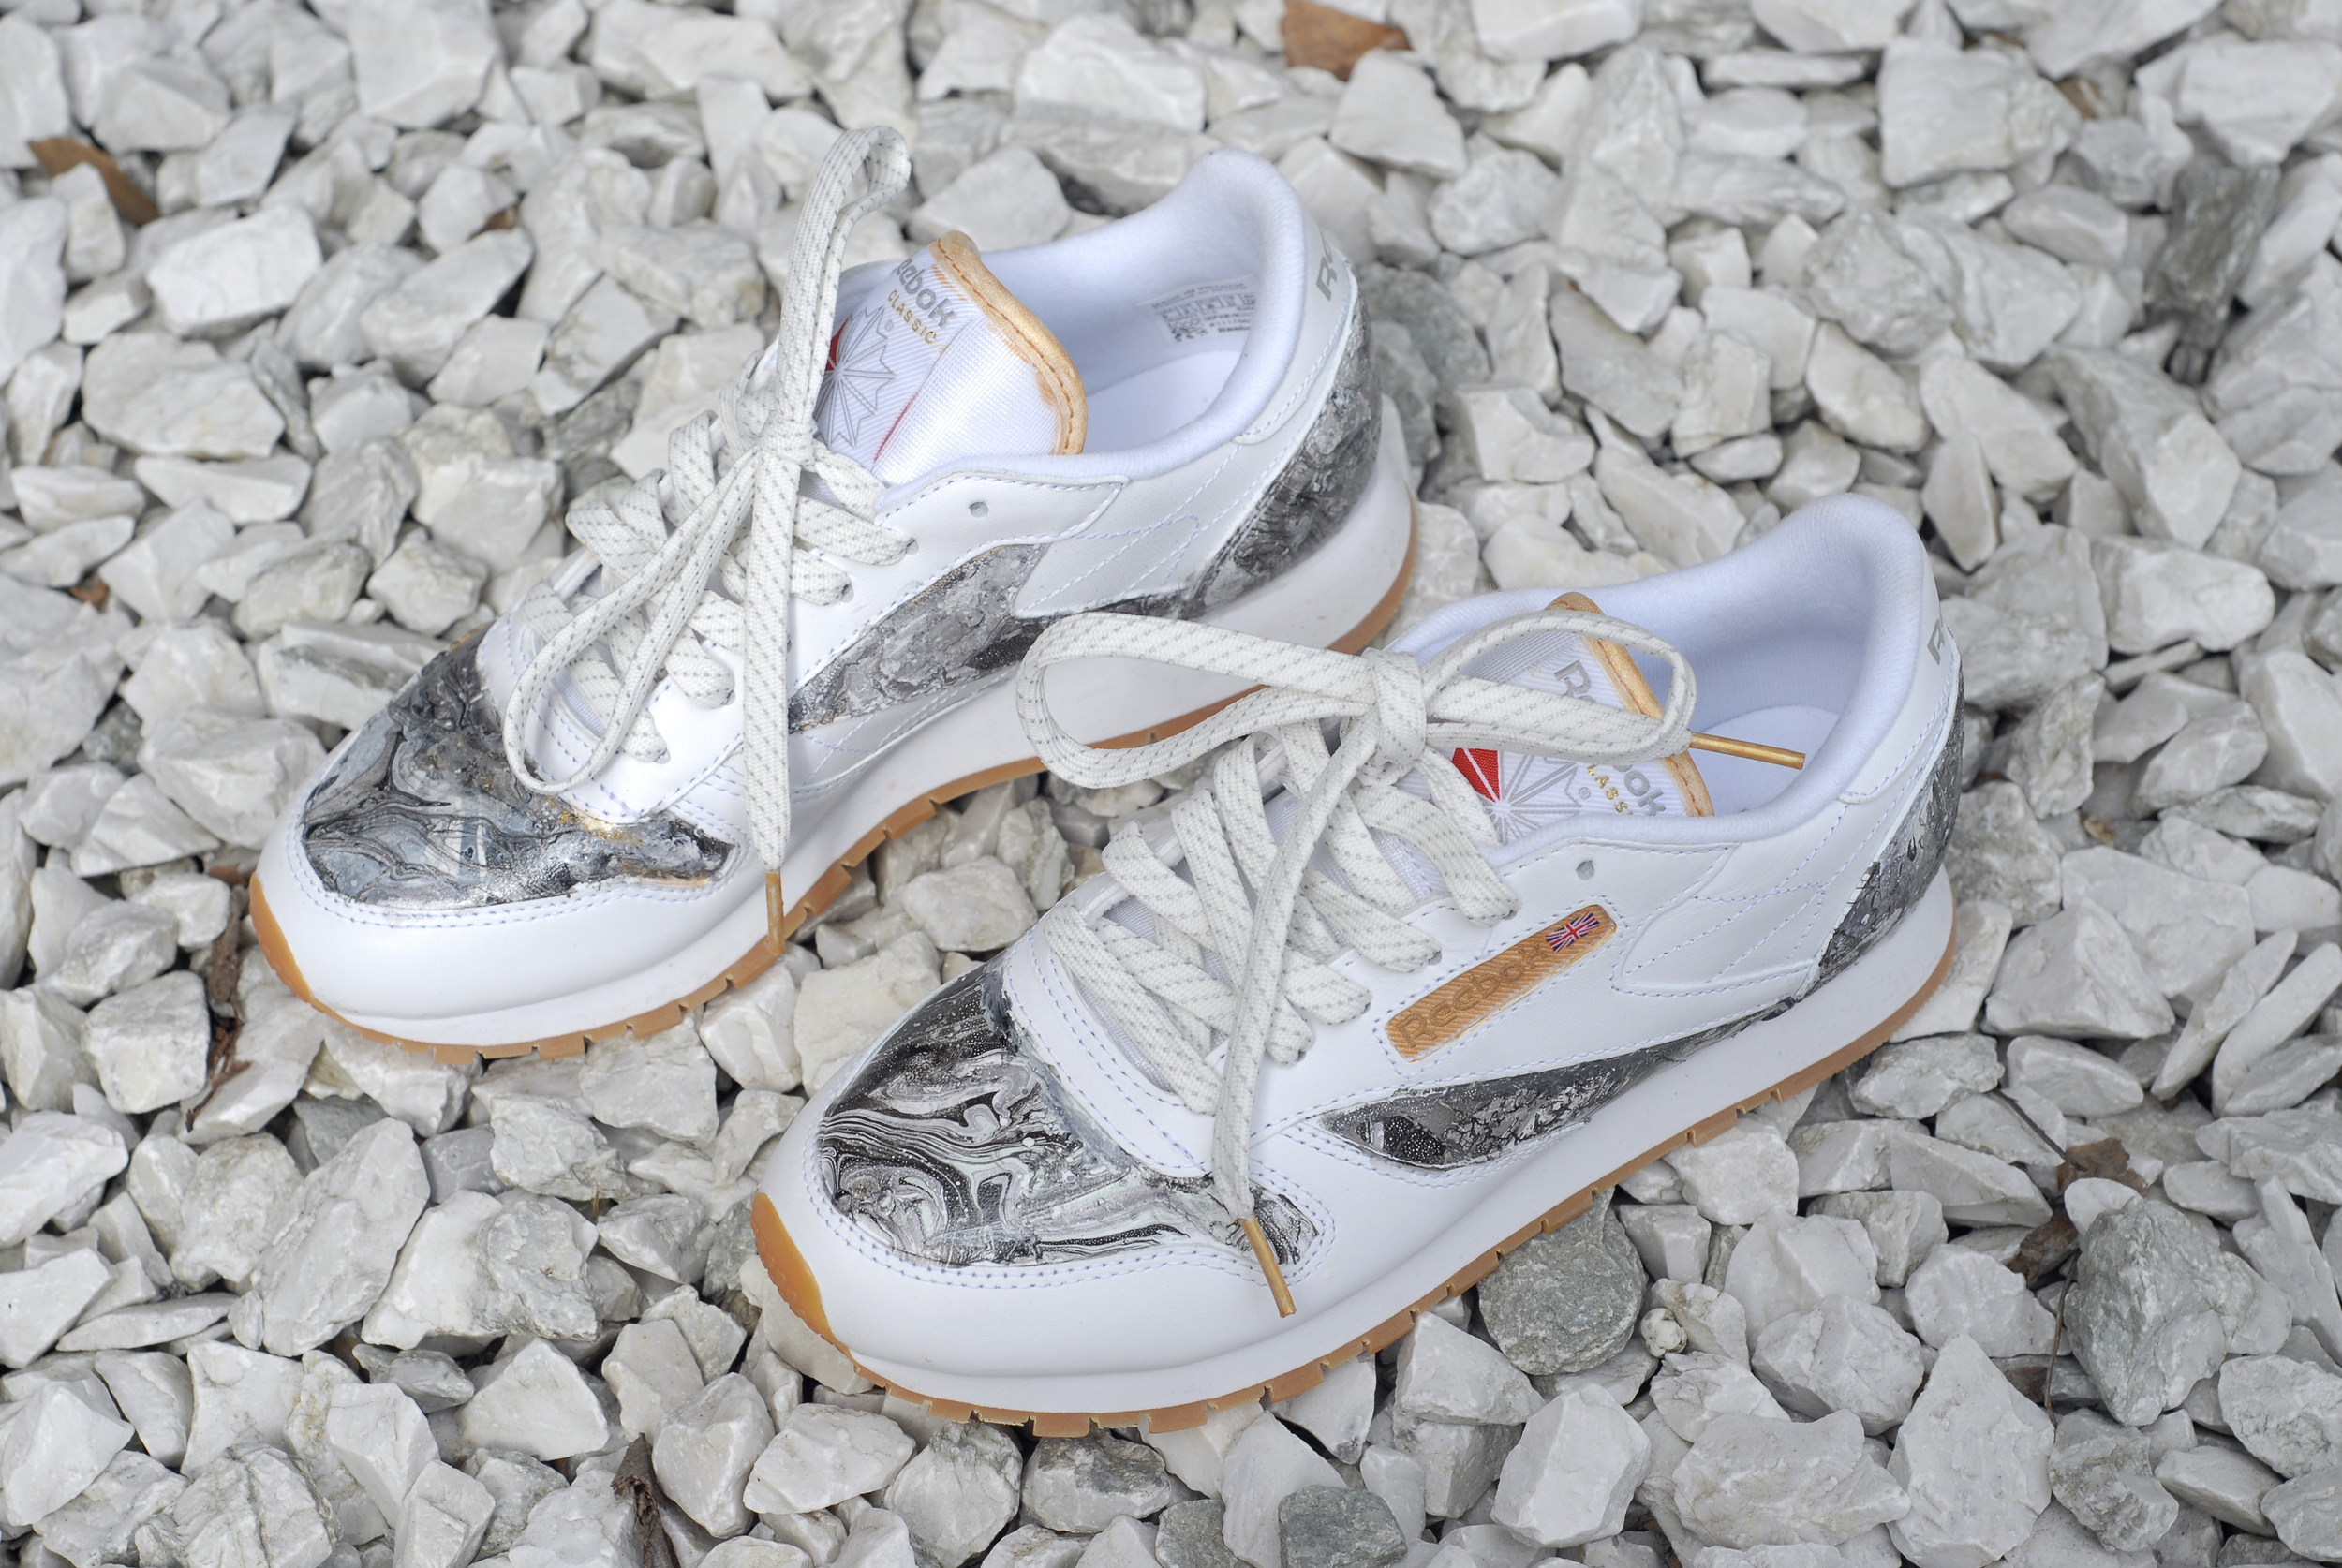
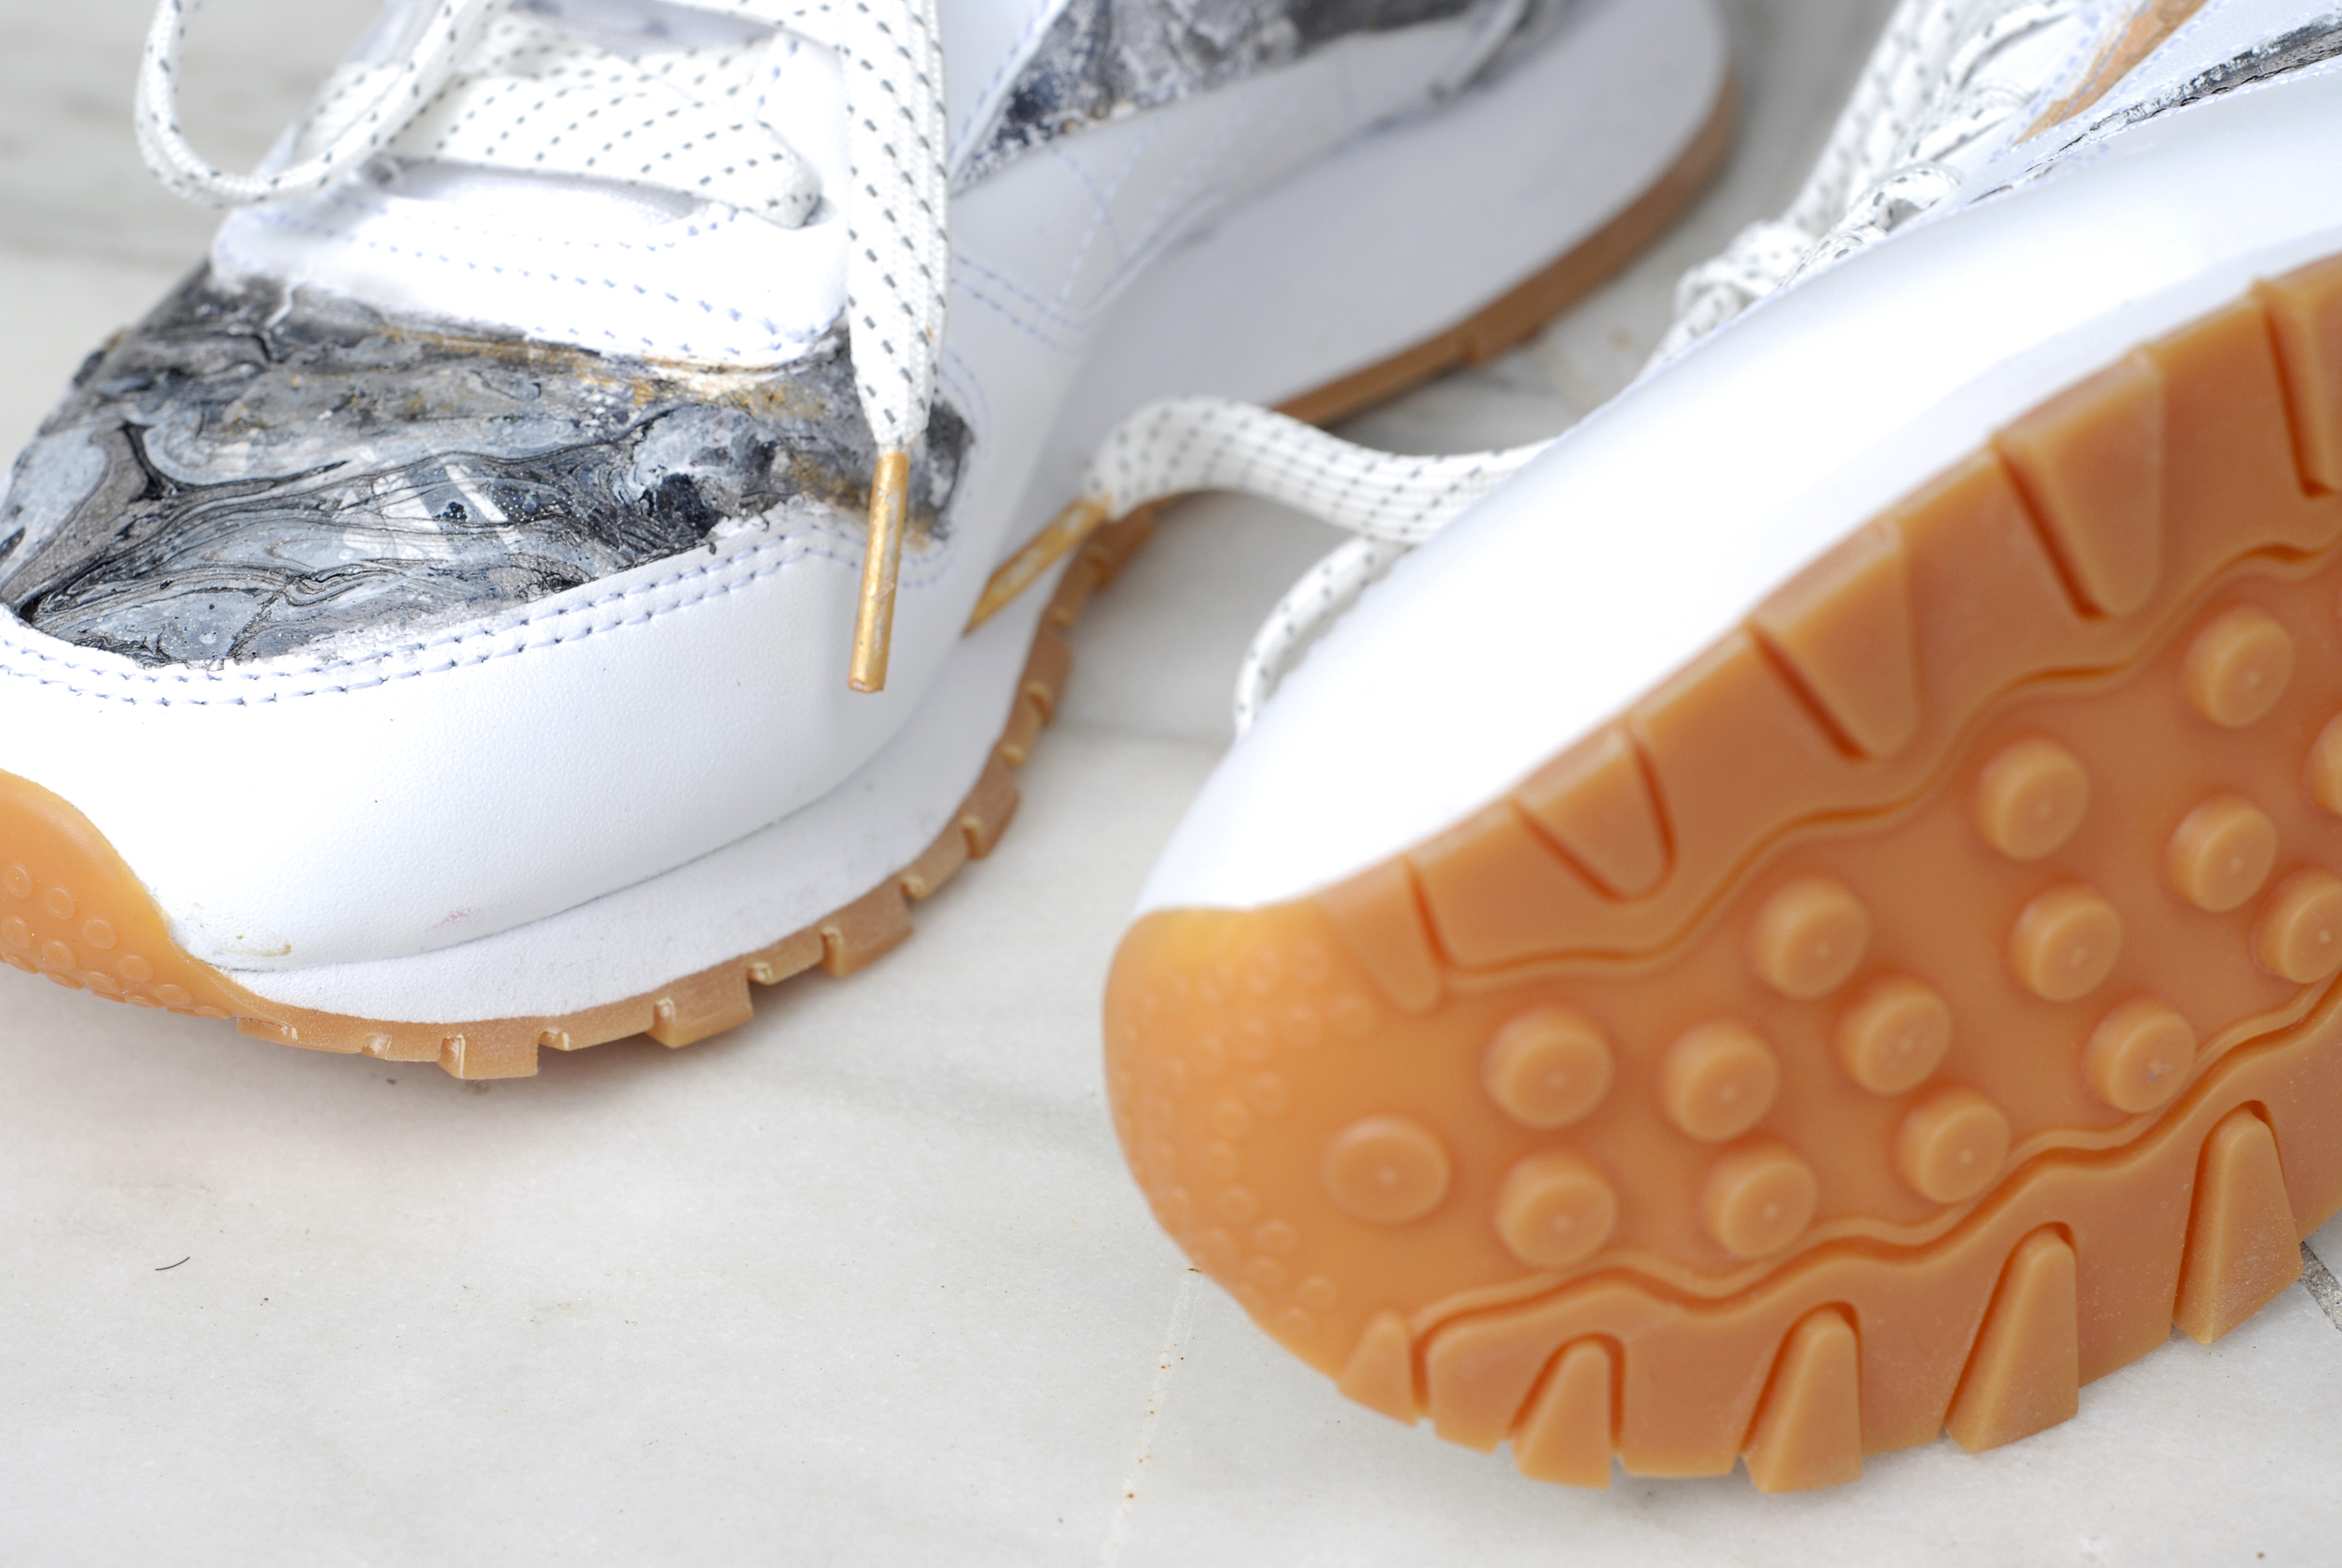
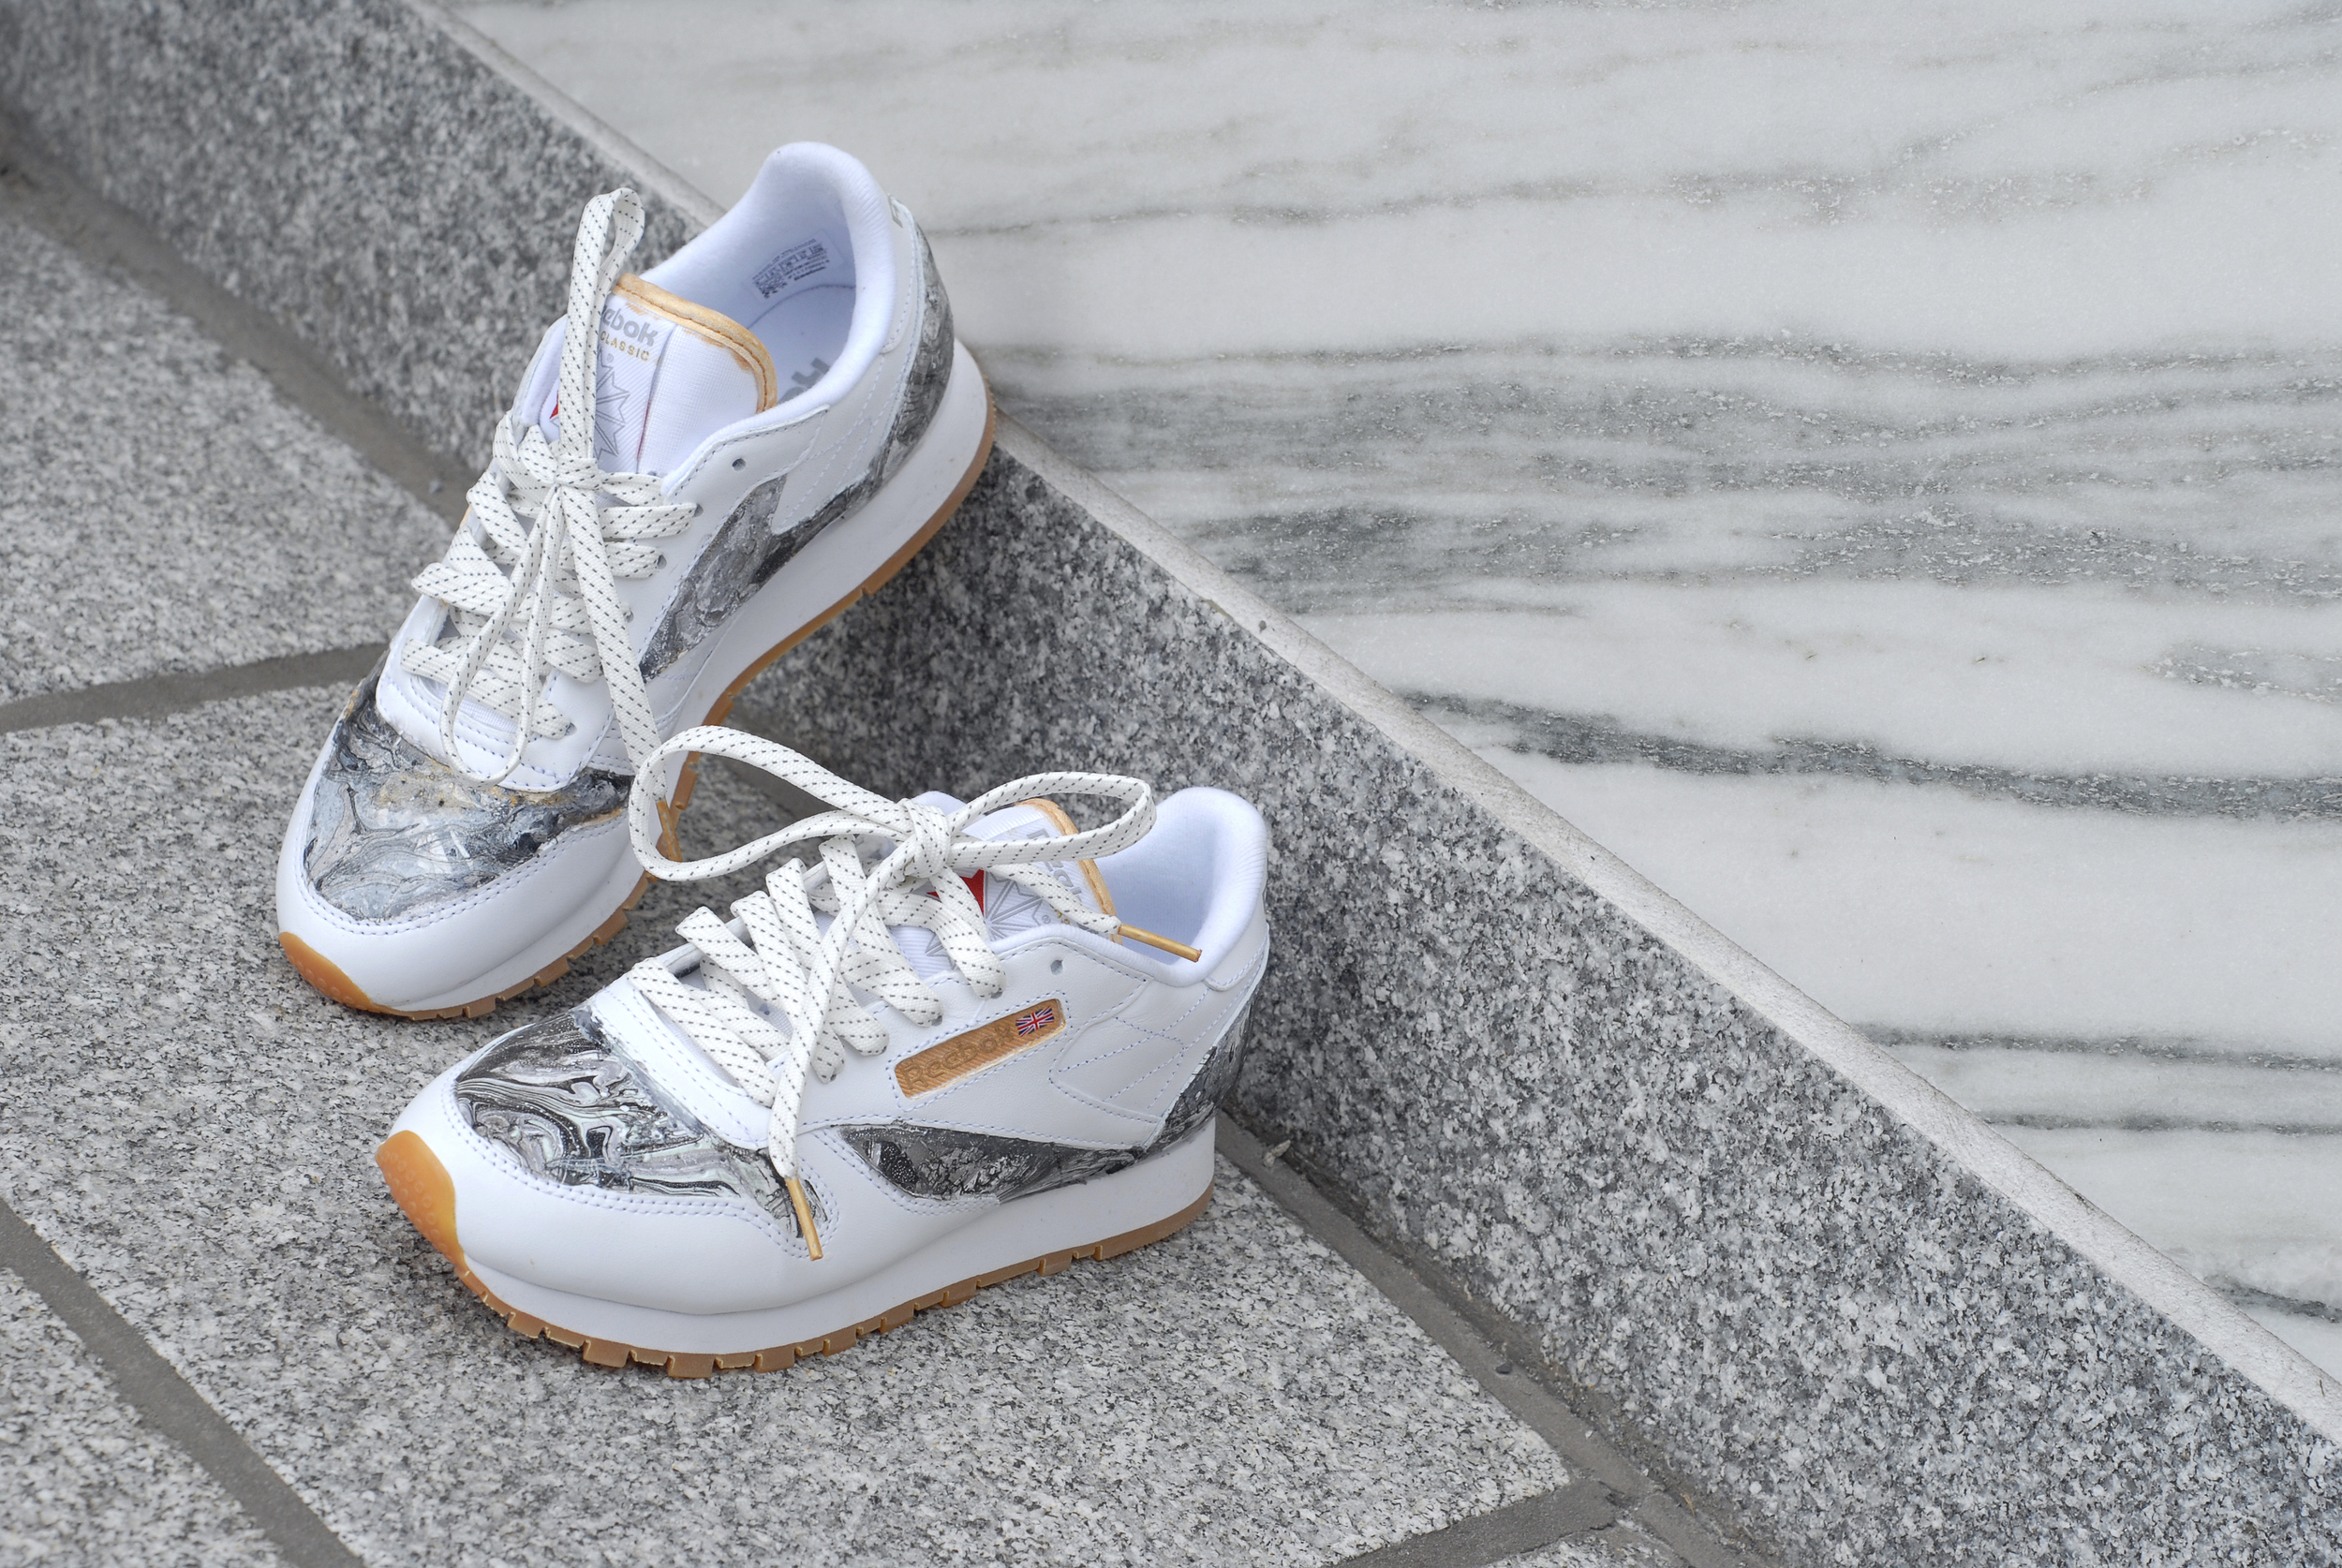
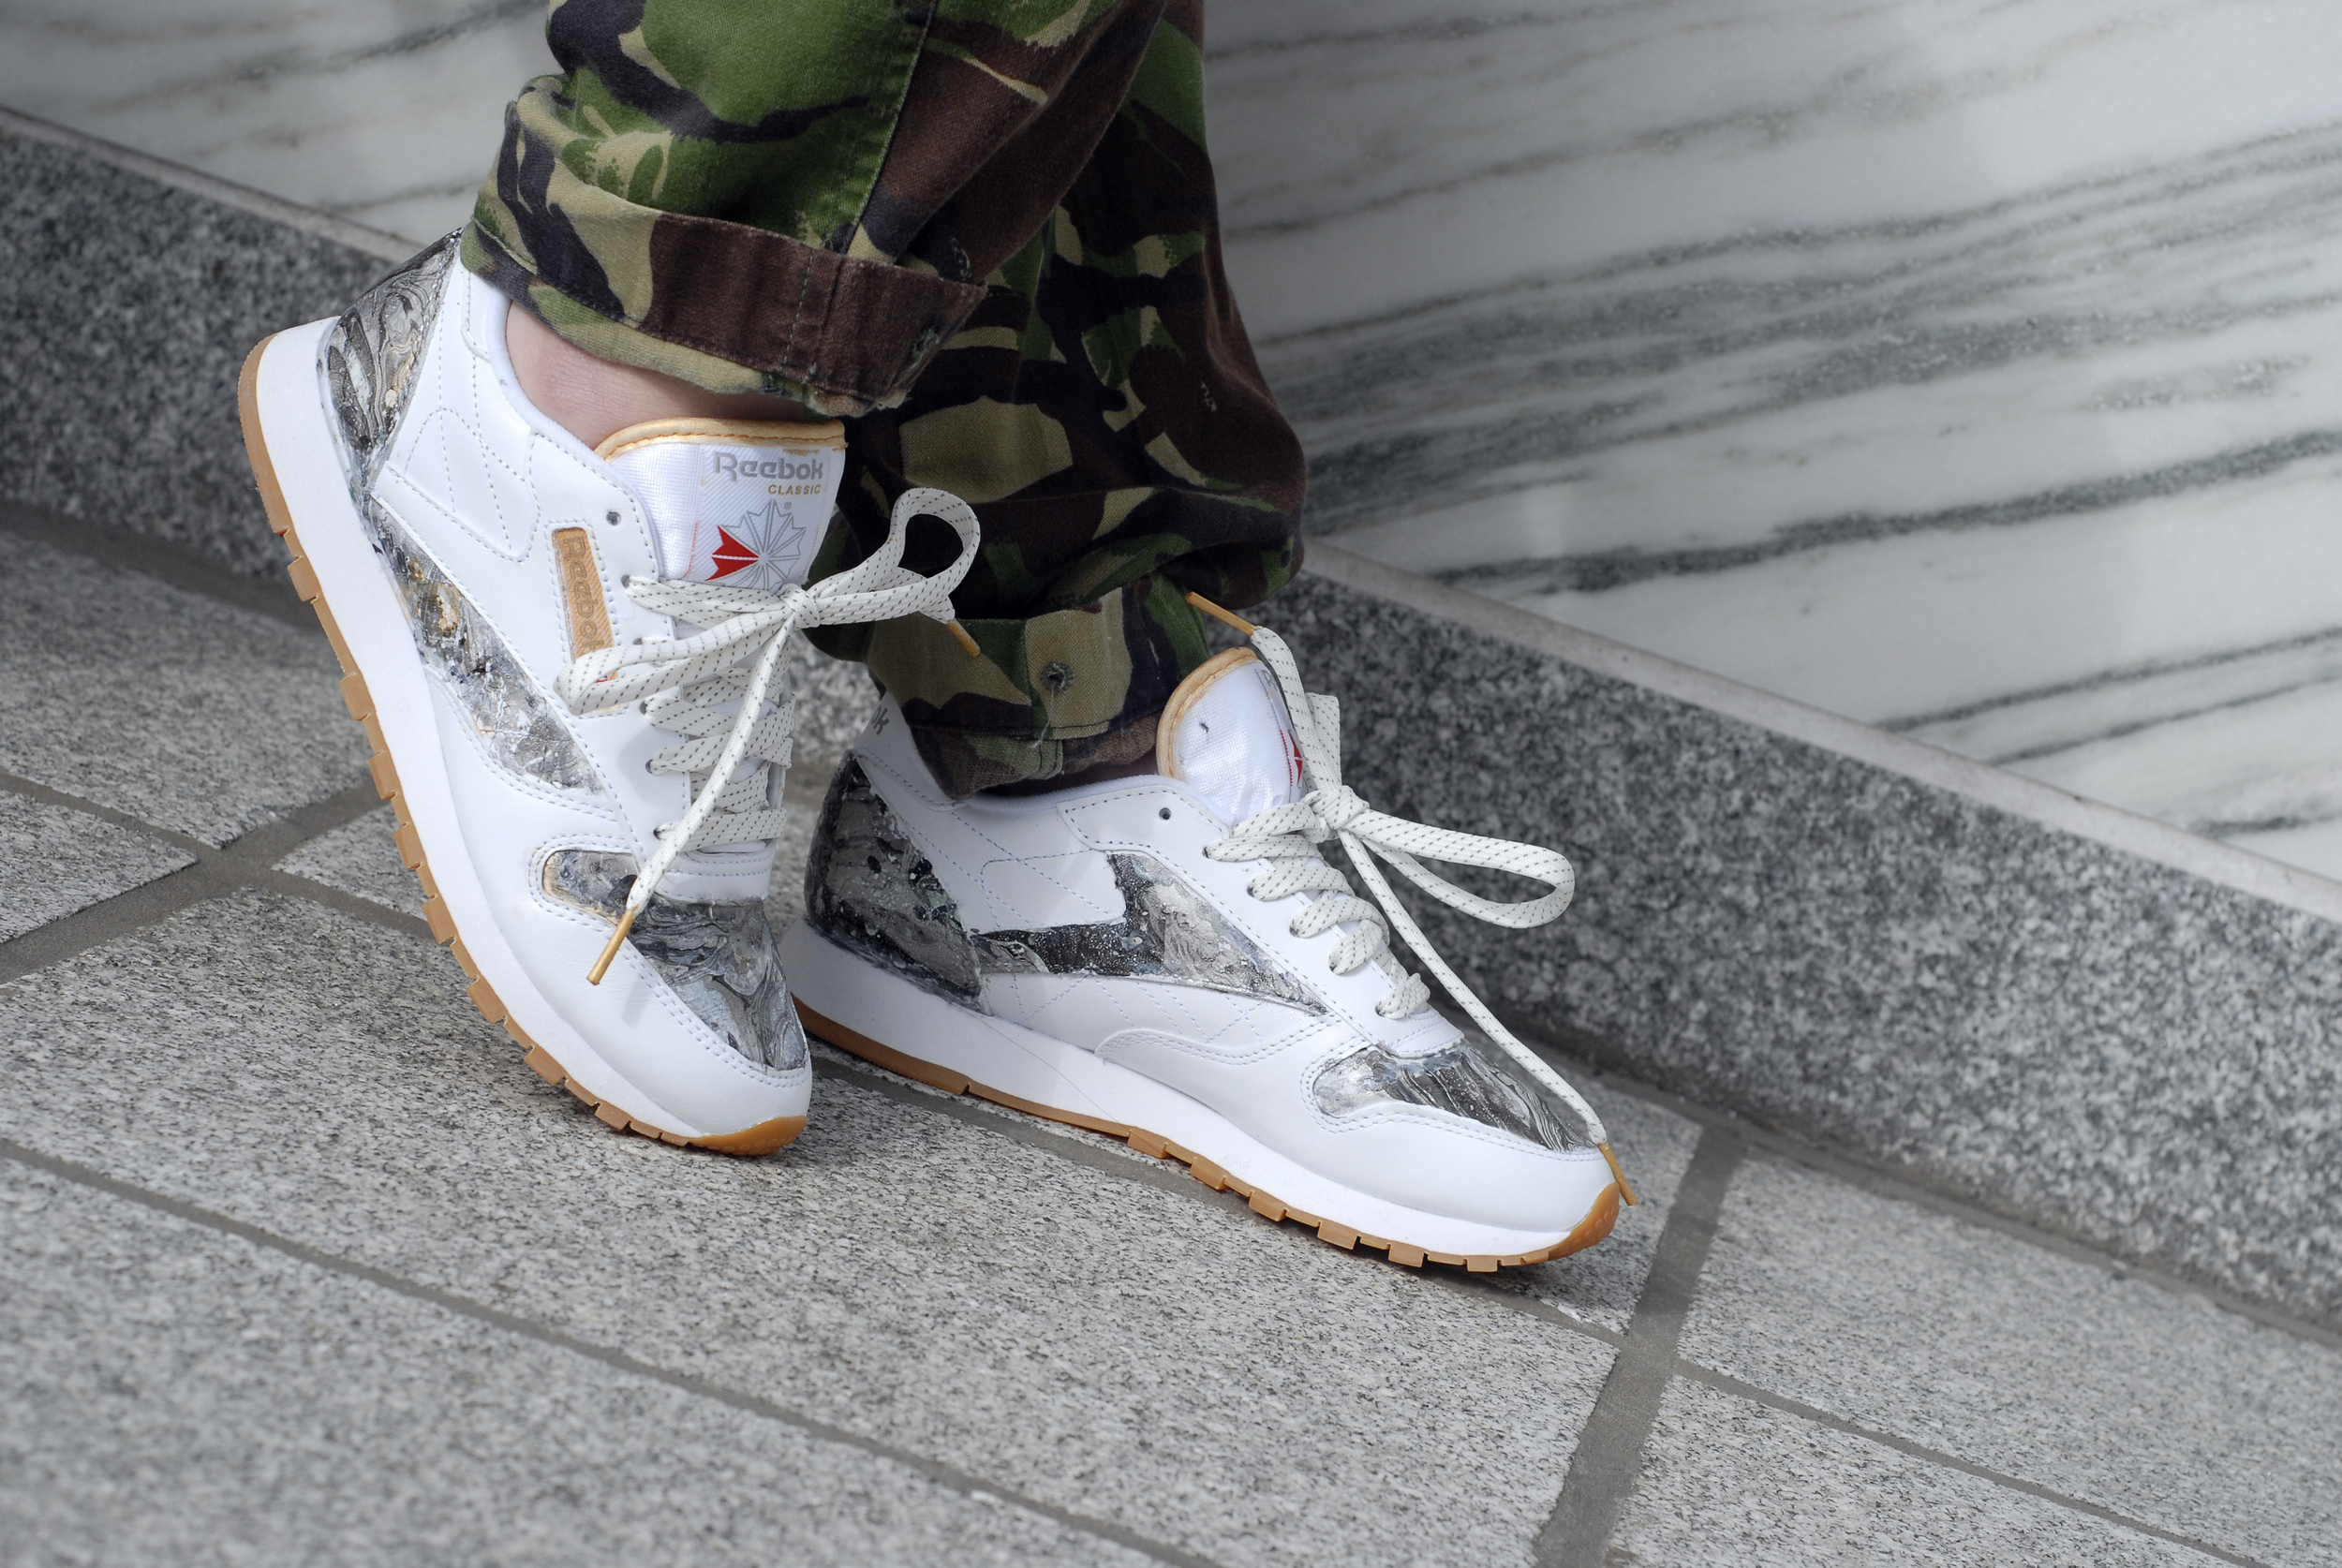
It took me a little while to decide what I wanted to do with the shoe, as I love a classic white sneaker with a gum sole - it's so clean! I decided to go with a marble print as marble is a classic, natural stone that never goes out of style. I already have a marble laptop case, a marble agenda, marble bookends...so you get my enthusiasm for the stone. I didn't want to do the full shoe in marble so instead I wanted to colourblock it, so it could serve as a compliment to the white leather, gum sold and canvas laces.
To paint the shoe I decided to opt for nail polish instead of regular paint to ensure that the design could stay on the sneaker and dry properly. I wanted to make sure that I could not only create my own custom piece of art, but also wear it in the streets. After a ton of research on Pinterest, DIY blogs, Tumblr and a trip to both the Dollar Store and the art supply store, I was ready to go. I decided to use nail polish colors that were closed to the paints that Reebok sent me - black, white, light grey, graphite - and also added a few of my own colours using silver, mint green and gold. I've seen all three colours created in nature on marble in the past and I thought it would add a personal touch. I also picked up a gold textile medium marker to add my own touches of gold to the sneaker to compliment the gum sole.
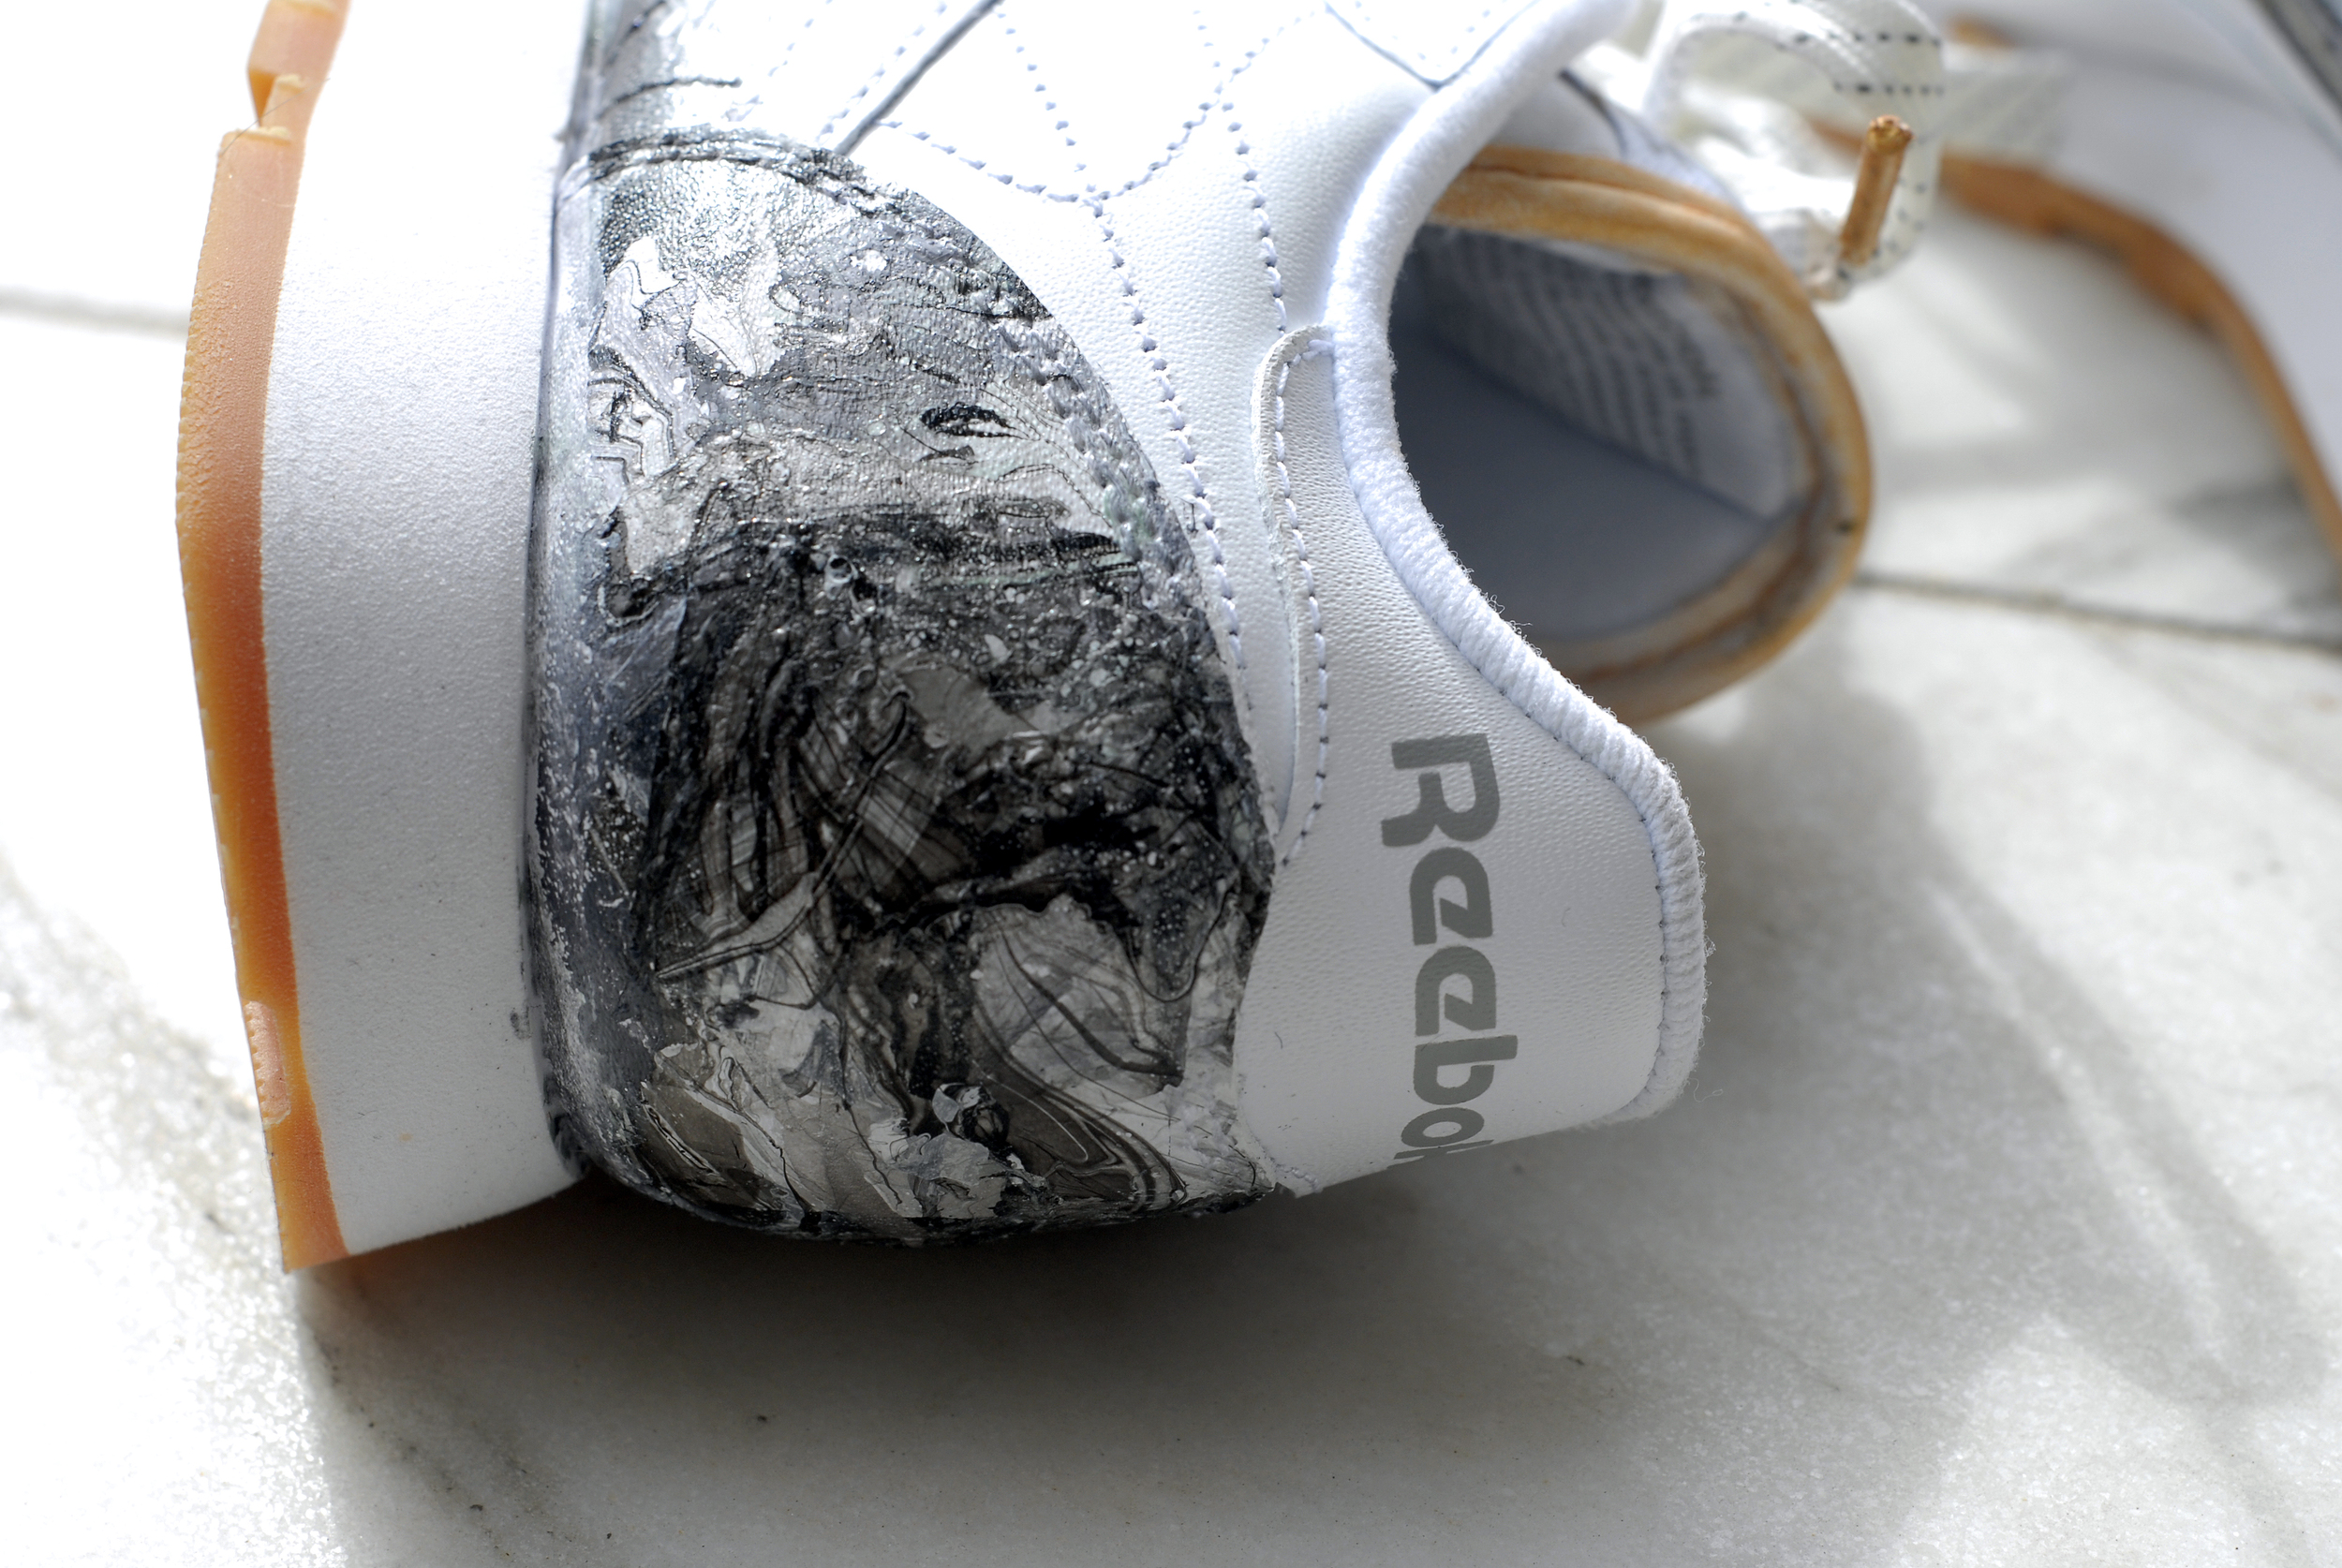
Once I had all my supplies, I planned out my design and taped the show accordingly. To get the marbling effect for your sneakers, first make sure your taped up tightly. Then get a large bowl or tin and fill it with water - I used a foil turkey container from the Dollar Store. I added droplets of paint to the water and quickly swirl it around so it looks kind of like marble. The nail polish will dry fast so work quickly. Dip the untaped portions of the shoe in the paint, do one coat and see how it looks. I recommend doing one coat the cover the entire taped portion at a time. Then add more layers as it dries. Do both shoes and dunk as needed. Then once you're happy with the pattern, set it to dry.
After, I removed all the tape and touched up, adding more nail polish with a paint brush or sponge where necessary. You can remove excess paint from the edges with your finger or nail polish, but you won't be able to clean off entire sections - that paint is more or less permanent. I then went in with my gold marker to add touches to the tongue, Reebok branding and in the marble pattern itself, giving a little shine. Once I was happy with the design, I went over all the nail polish sections with an essie gel top coat to give it a subtle sheen.
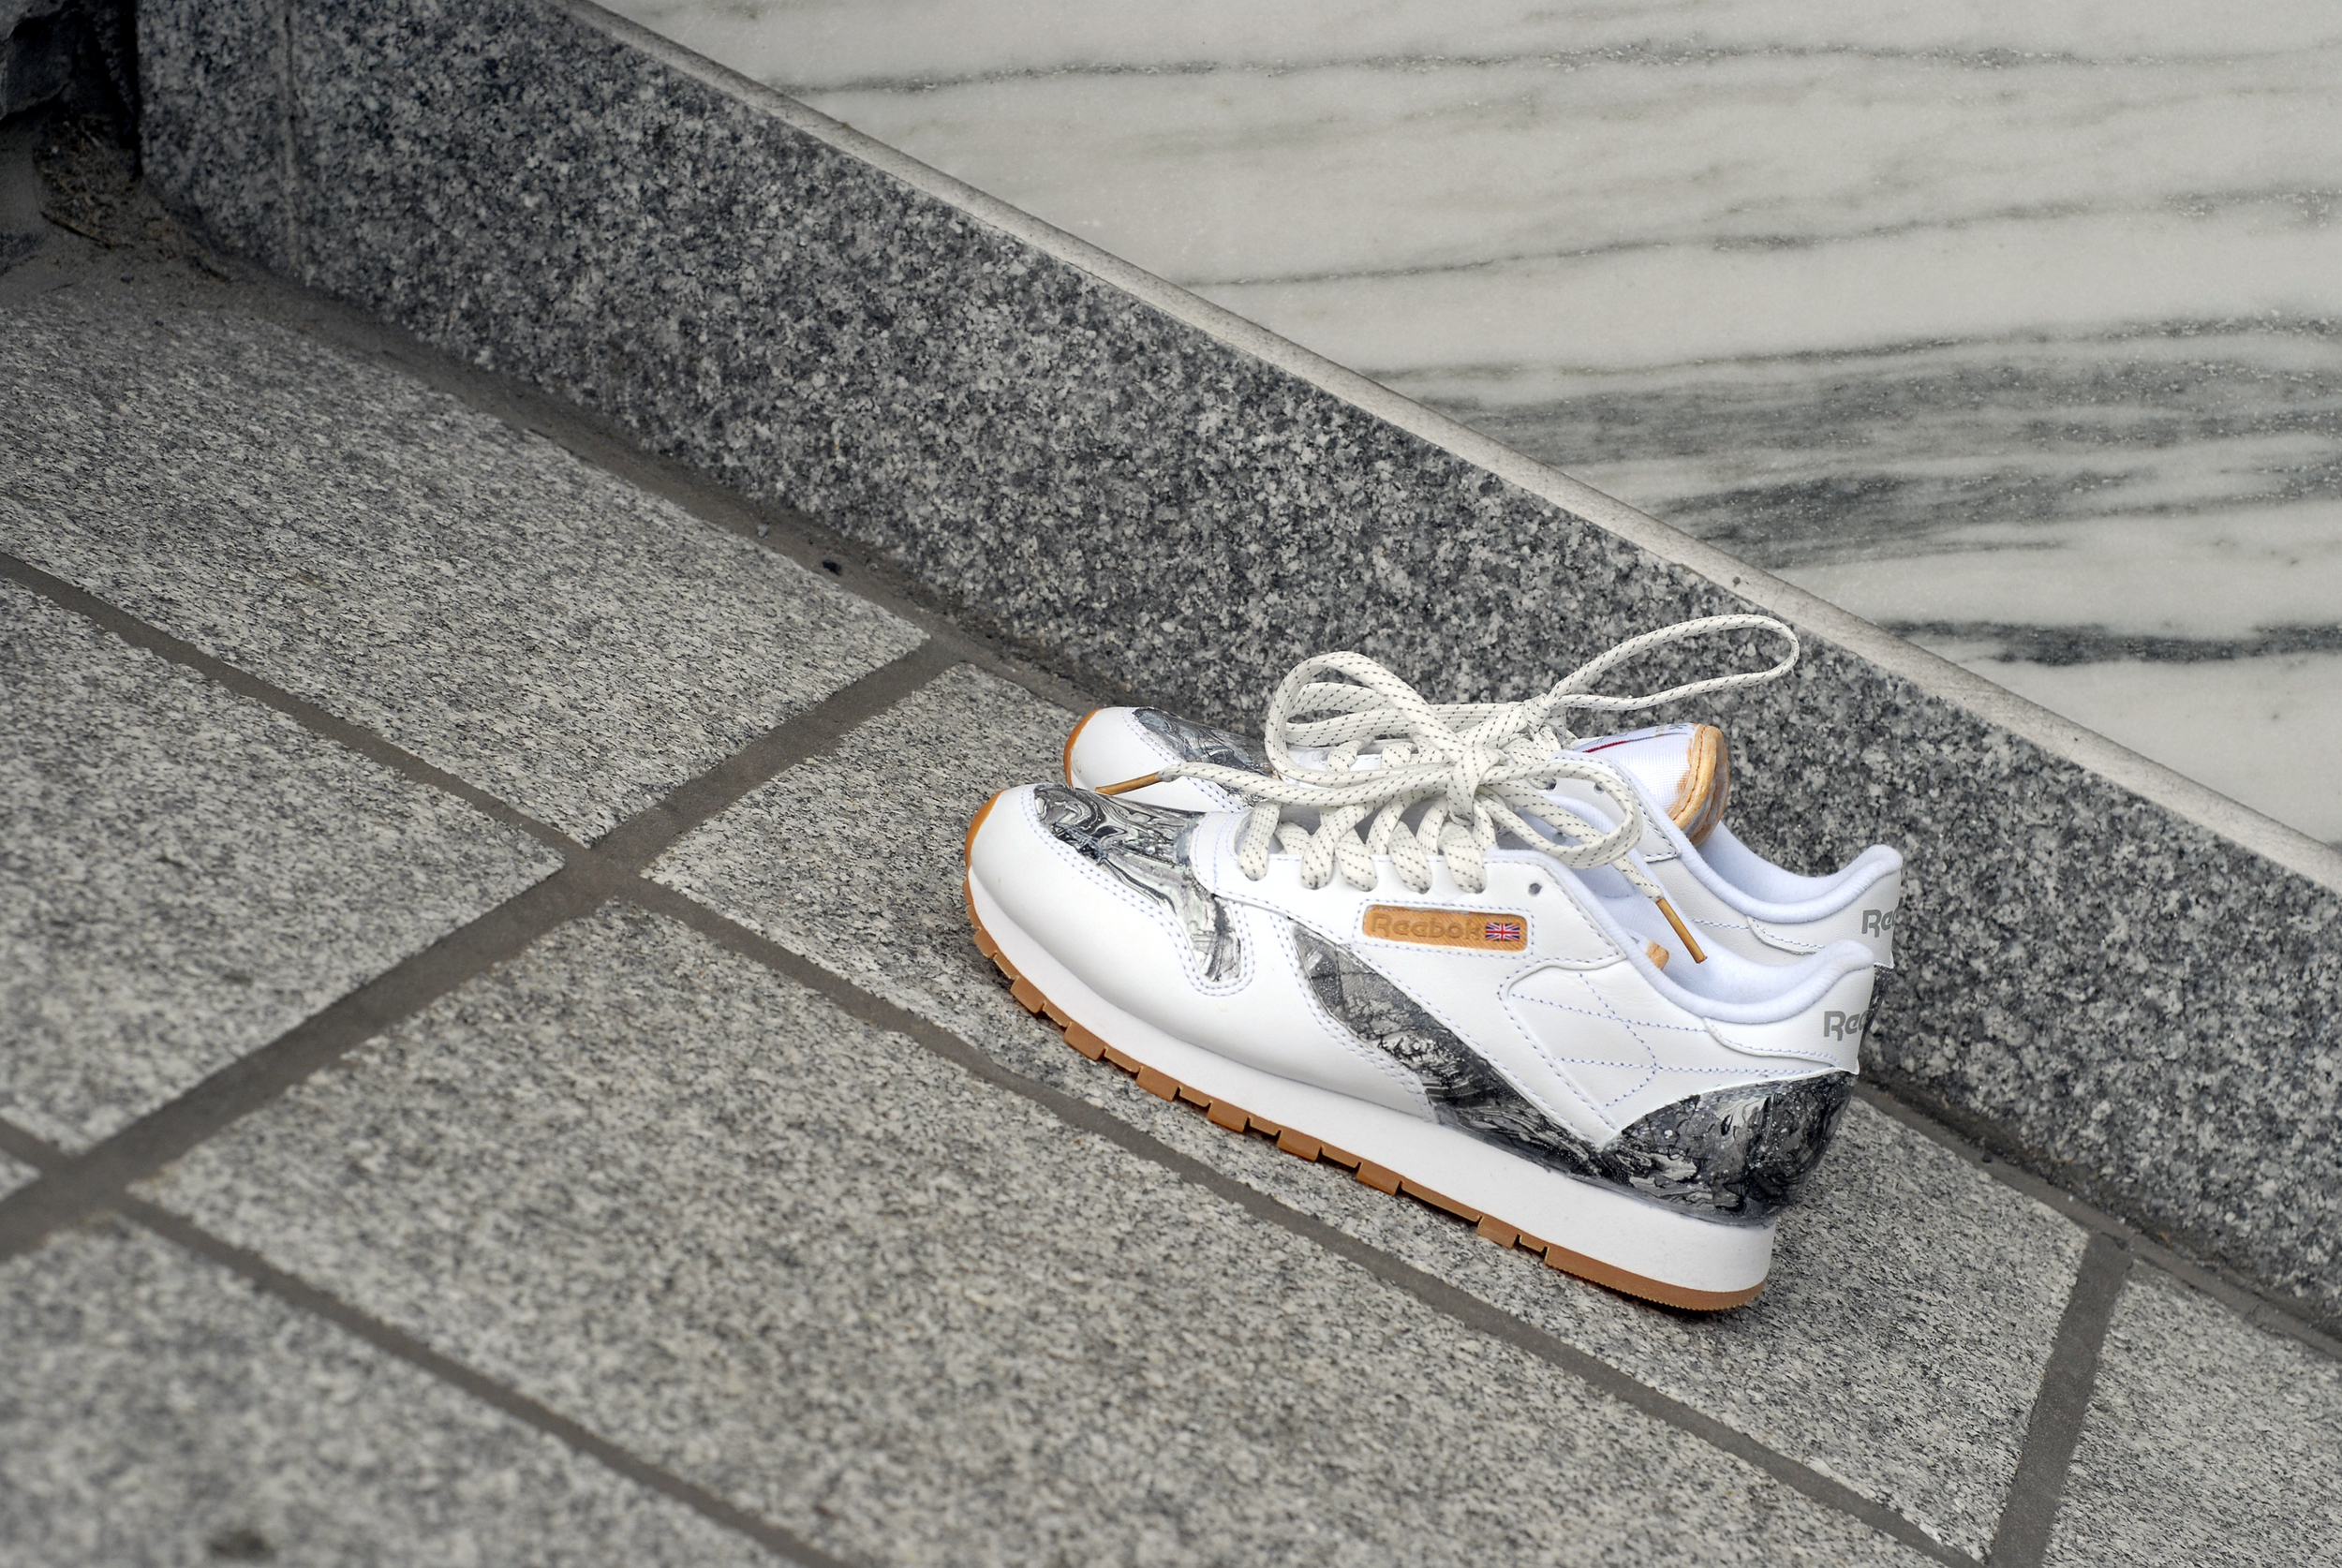
After I washed my hands, arms and nails (this is a messy project no matter what) and the shoe had tried I was able to lace up the shoe and shoot it. While the shoes aren't quite perfect, I'm pretty happy with the outcome. Much like a piece of salvaged marble, they're a little rough but still a work for art for some. Let me know what you think of the sneakers and enjoy a few beauty shots below. Thanks to Reebok Classics for involving me in the #stepforward project. This is what classic is to me.
Photos by Pierre Richardson. Shot on location at the Museum of Fine Arts in Montreal.
